Debaffle stock exhaust Kawasaki Ninja ZX6e. Exhaust Mod. How to. DIY
This is a modification to the stock dual can muffler exhaust on the Ninja ZX6E 1993 – 2004 also known as the ZZR00 in 2004 and in Europe.
This was all inspired by “mechanicalmadness” member of the old zx6e.com forum. He did this exhaust mod and made a great write up although it’s gone from the internet now.
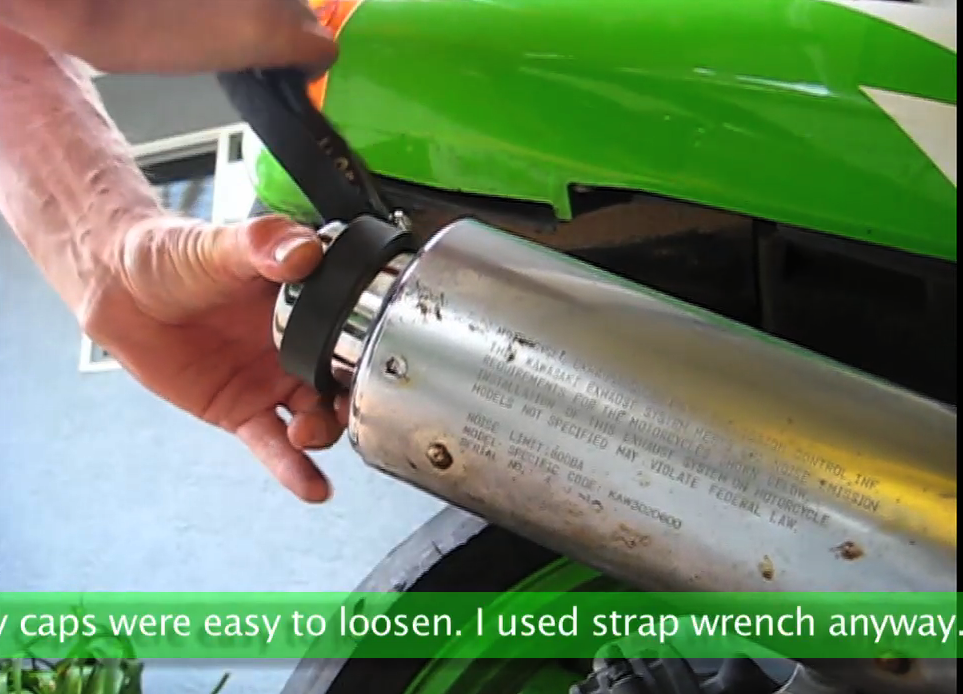
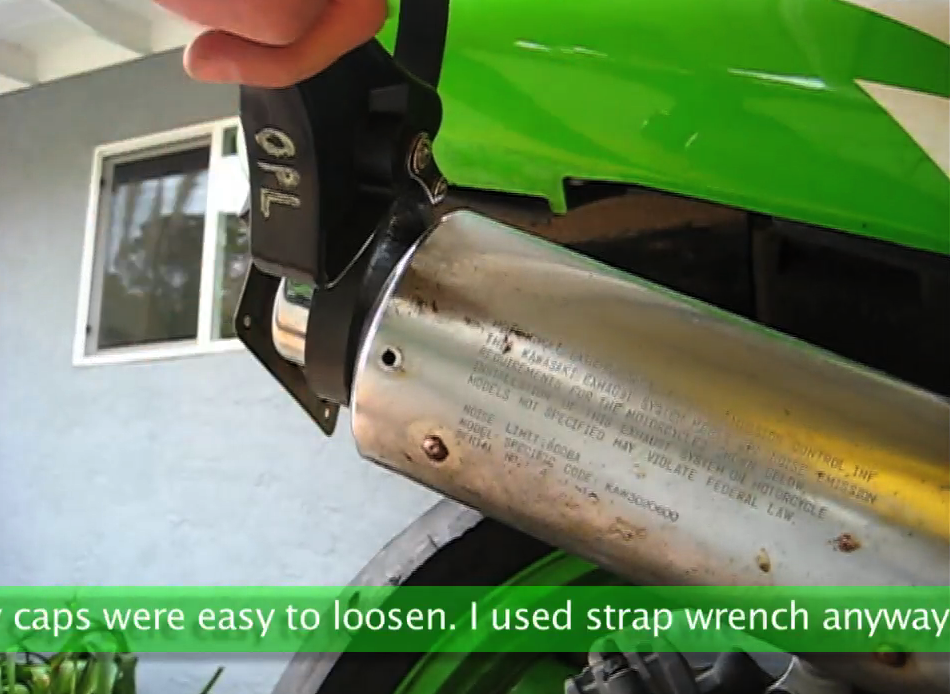
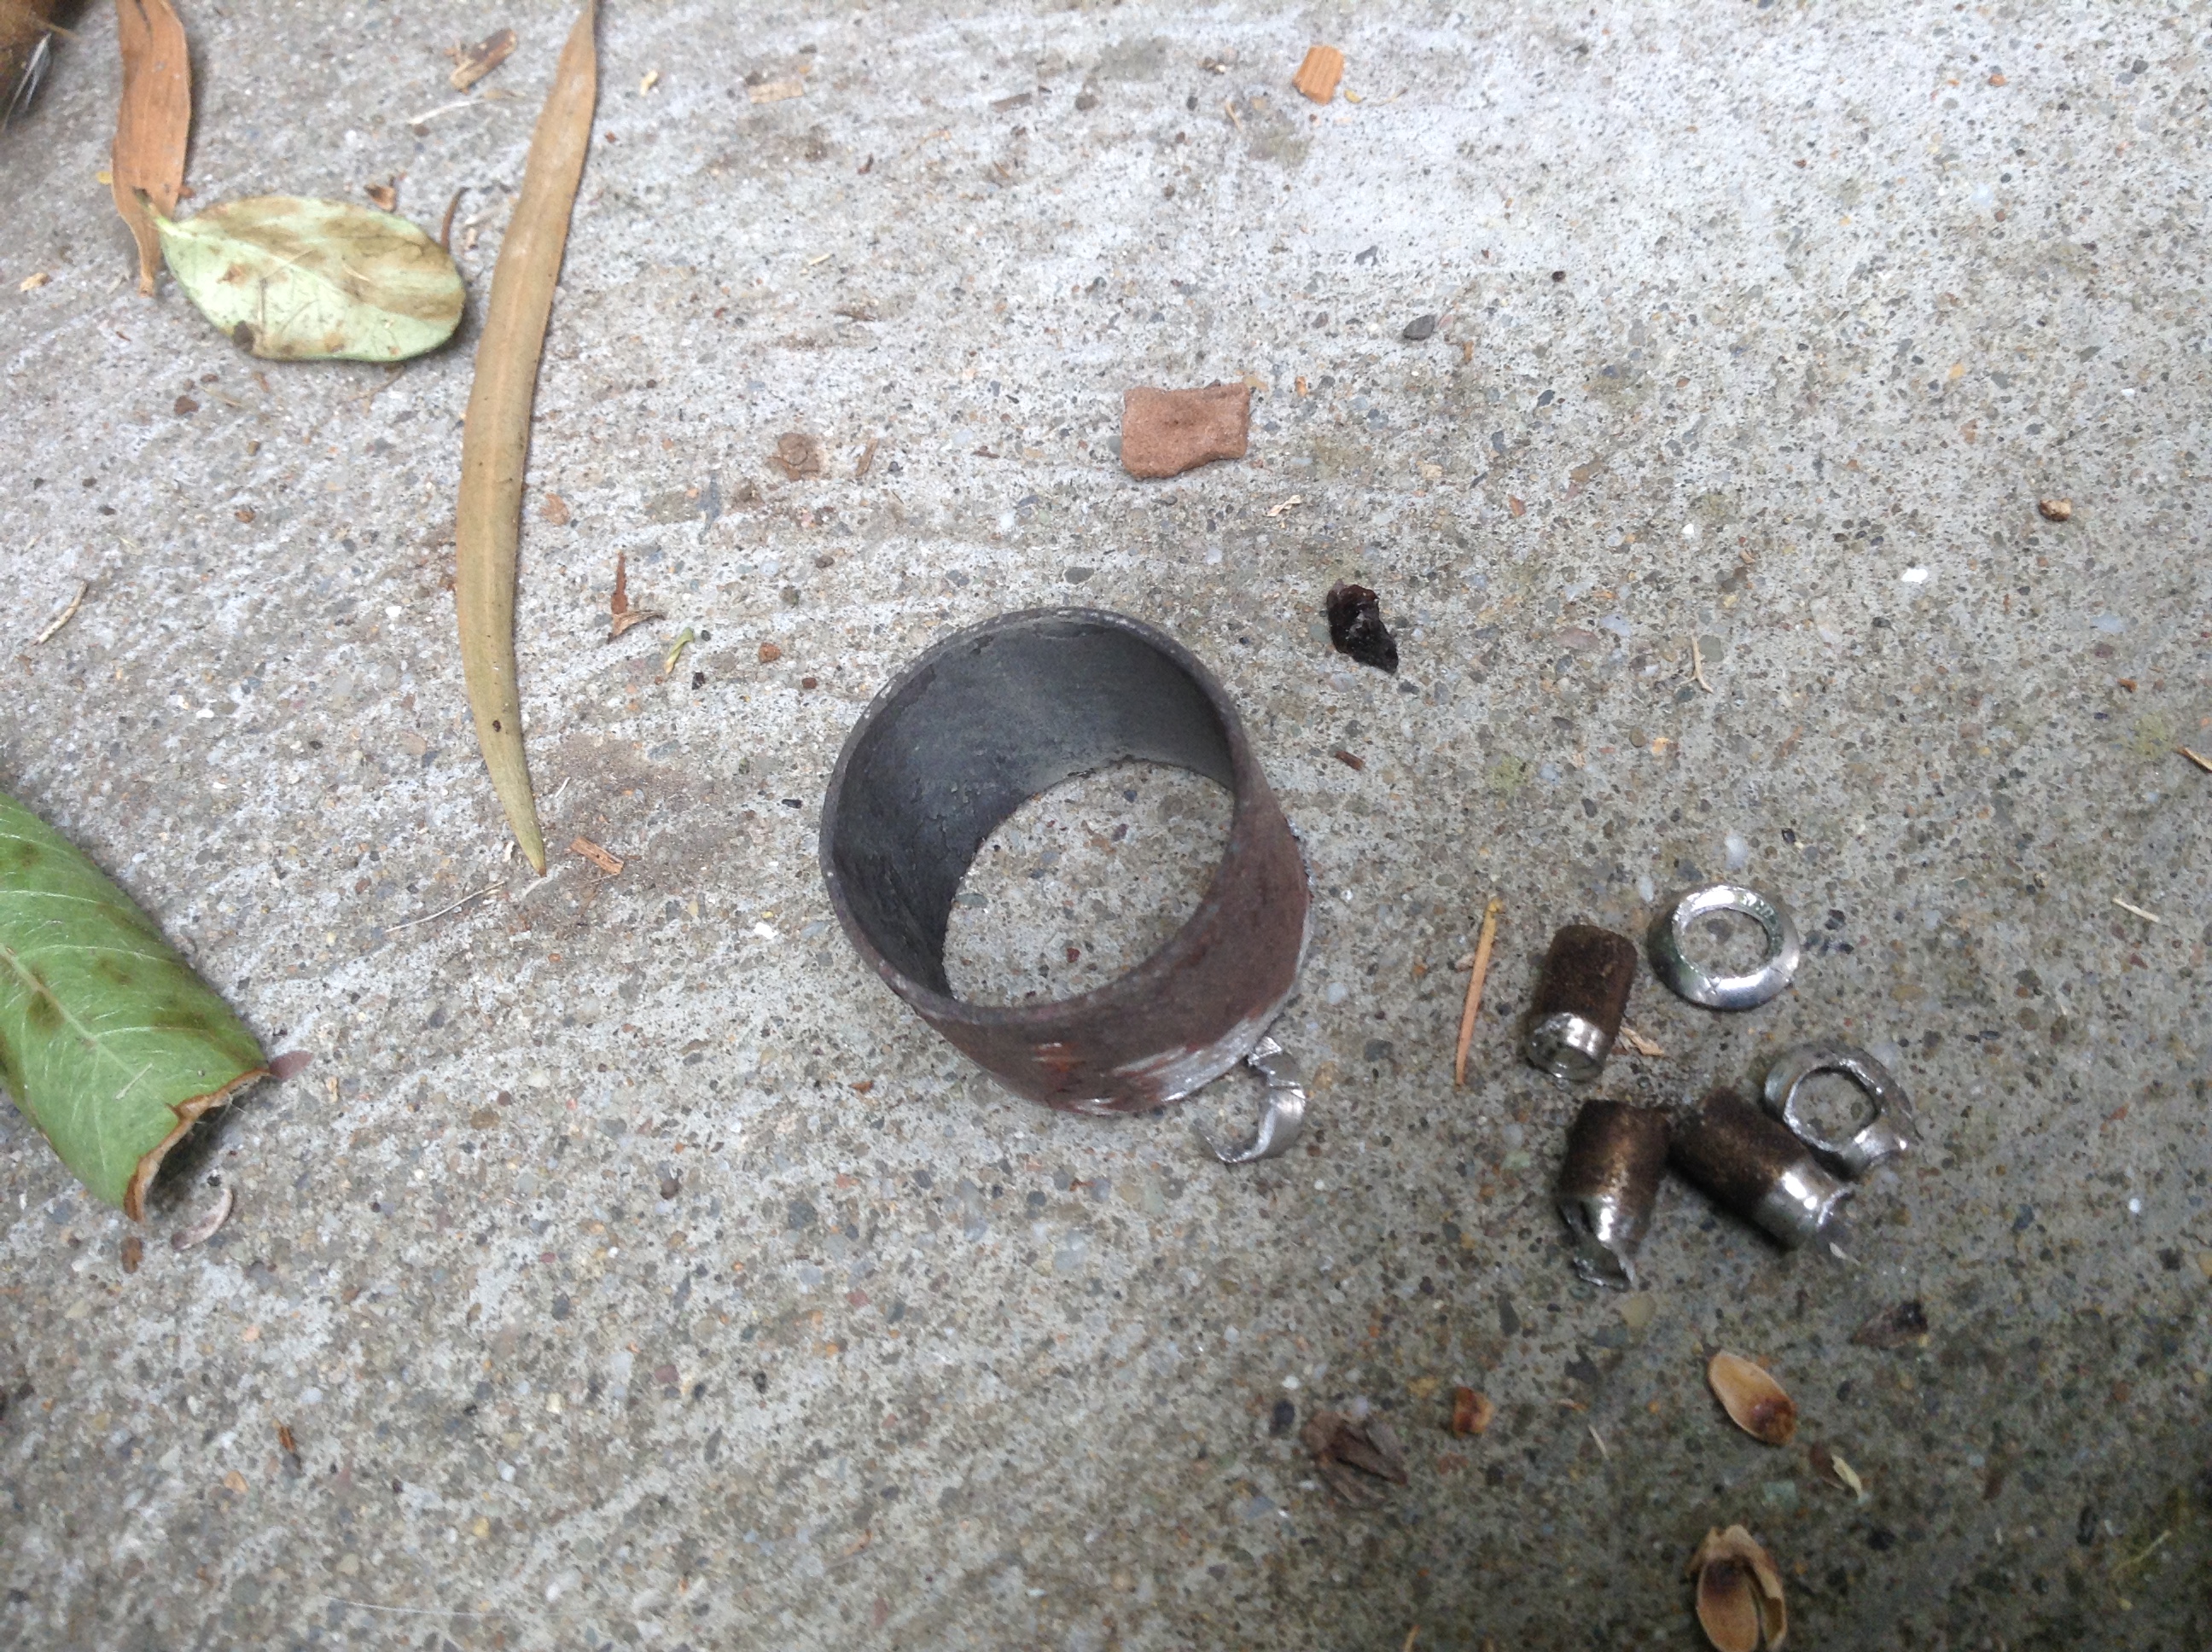
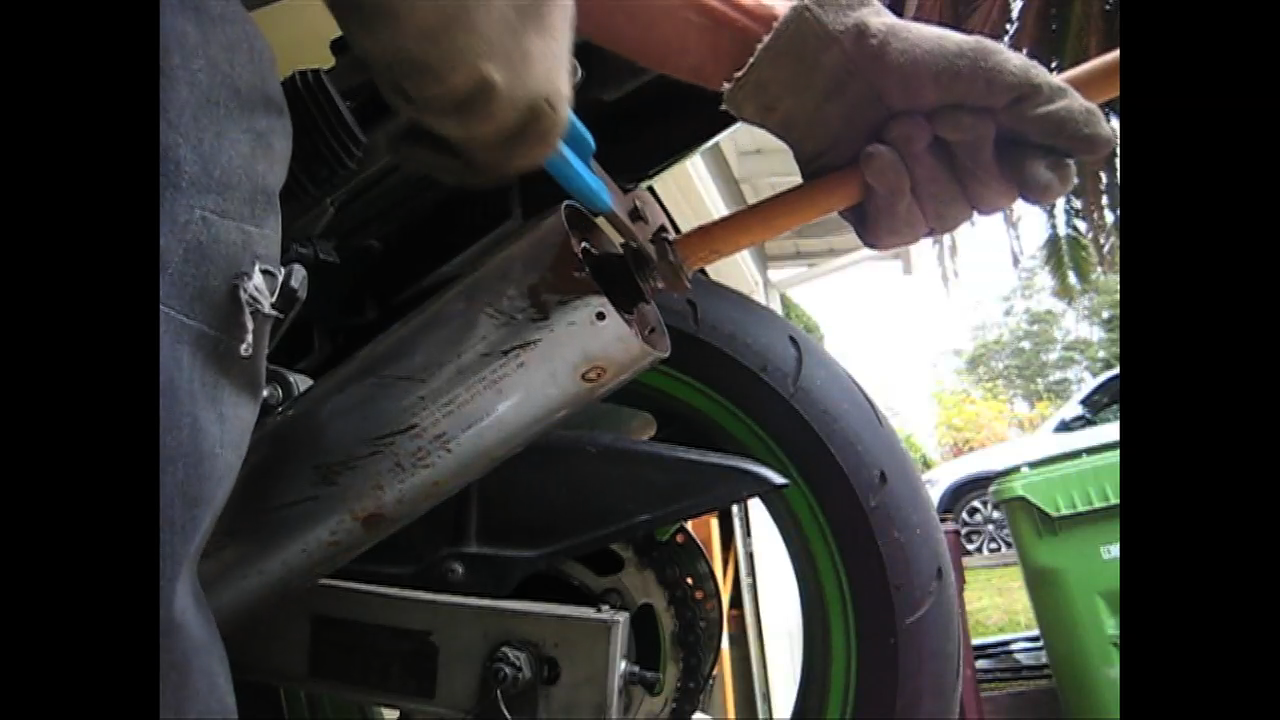
First thing, you have to drill out the exhaust cap rivets, there are three per side.
Next, you need to spin the exhaust caps out. I used a strap wrench. There is some sealant in there that does not let the cap release easily. Mine were easy to loosen though, perhaps due to their age.
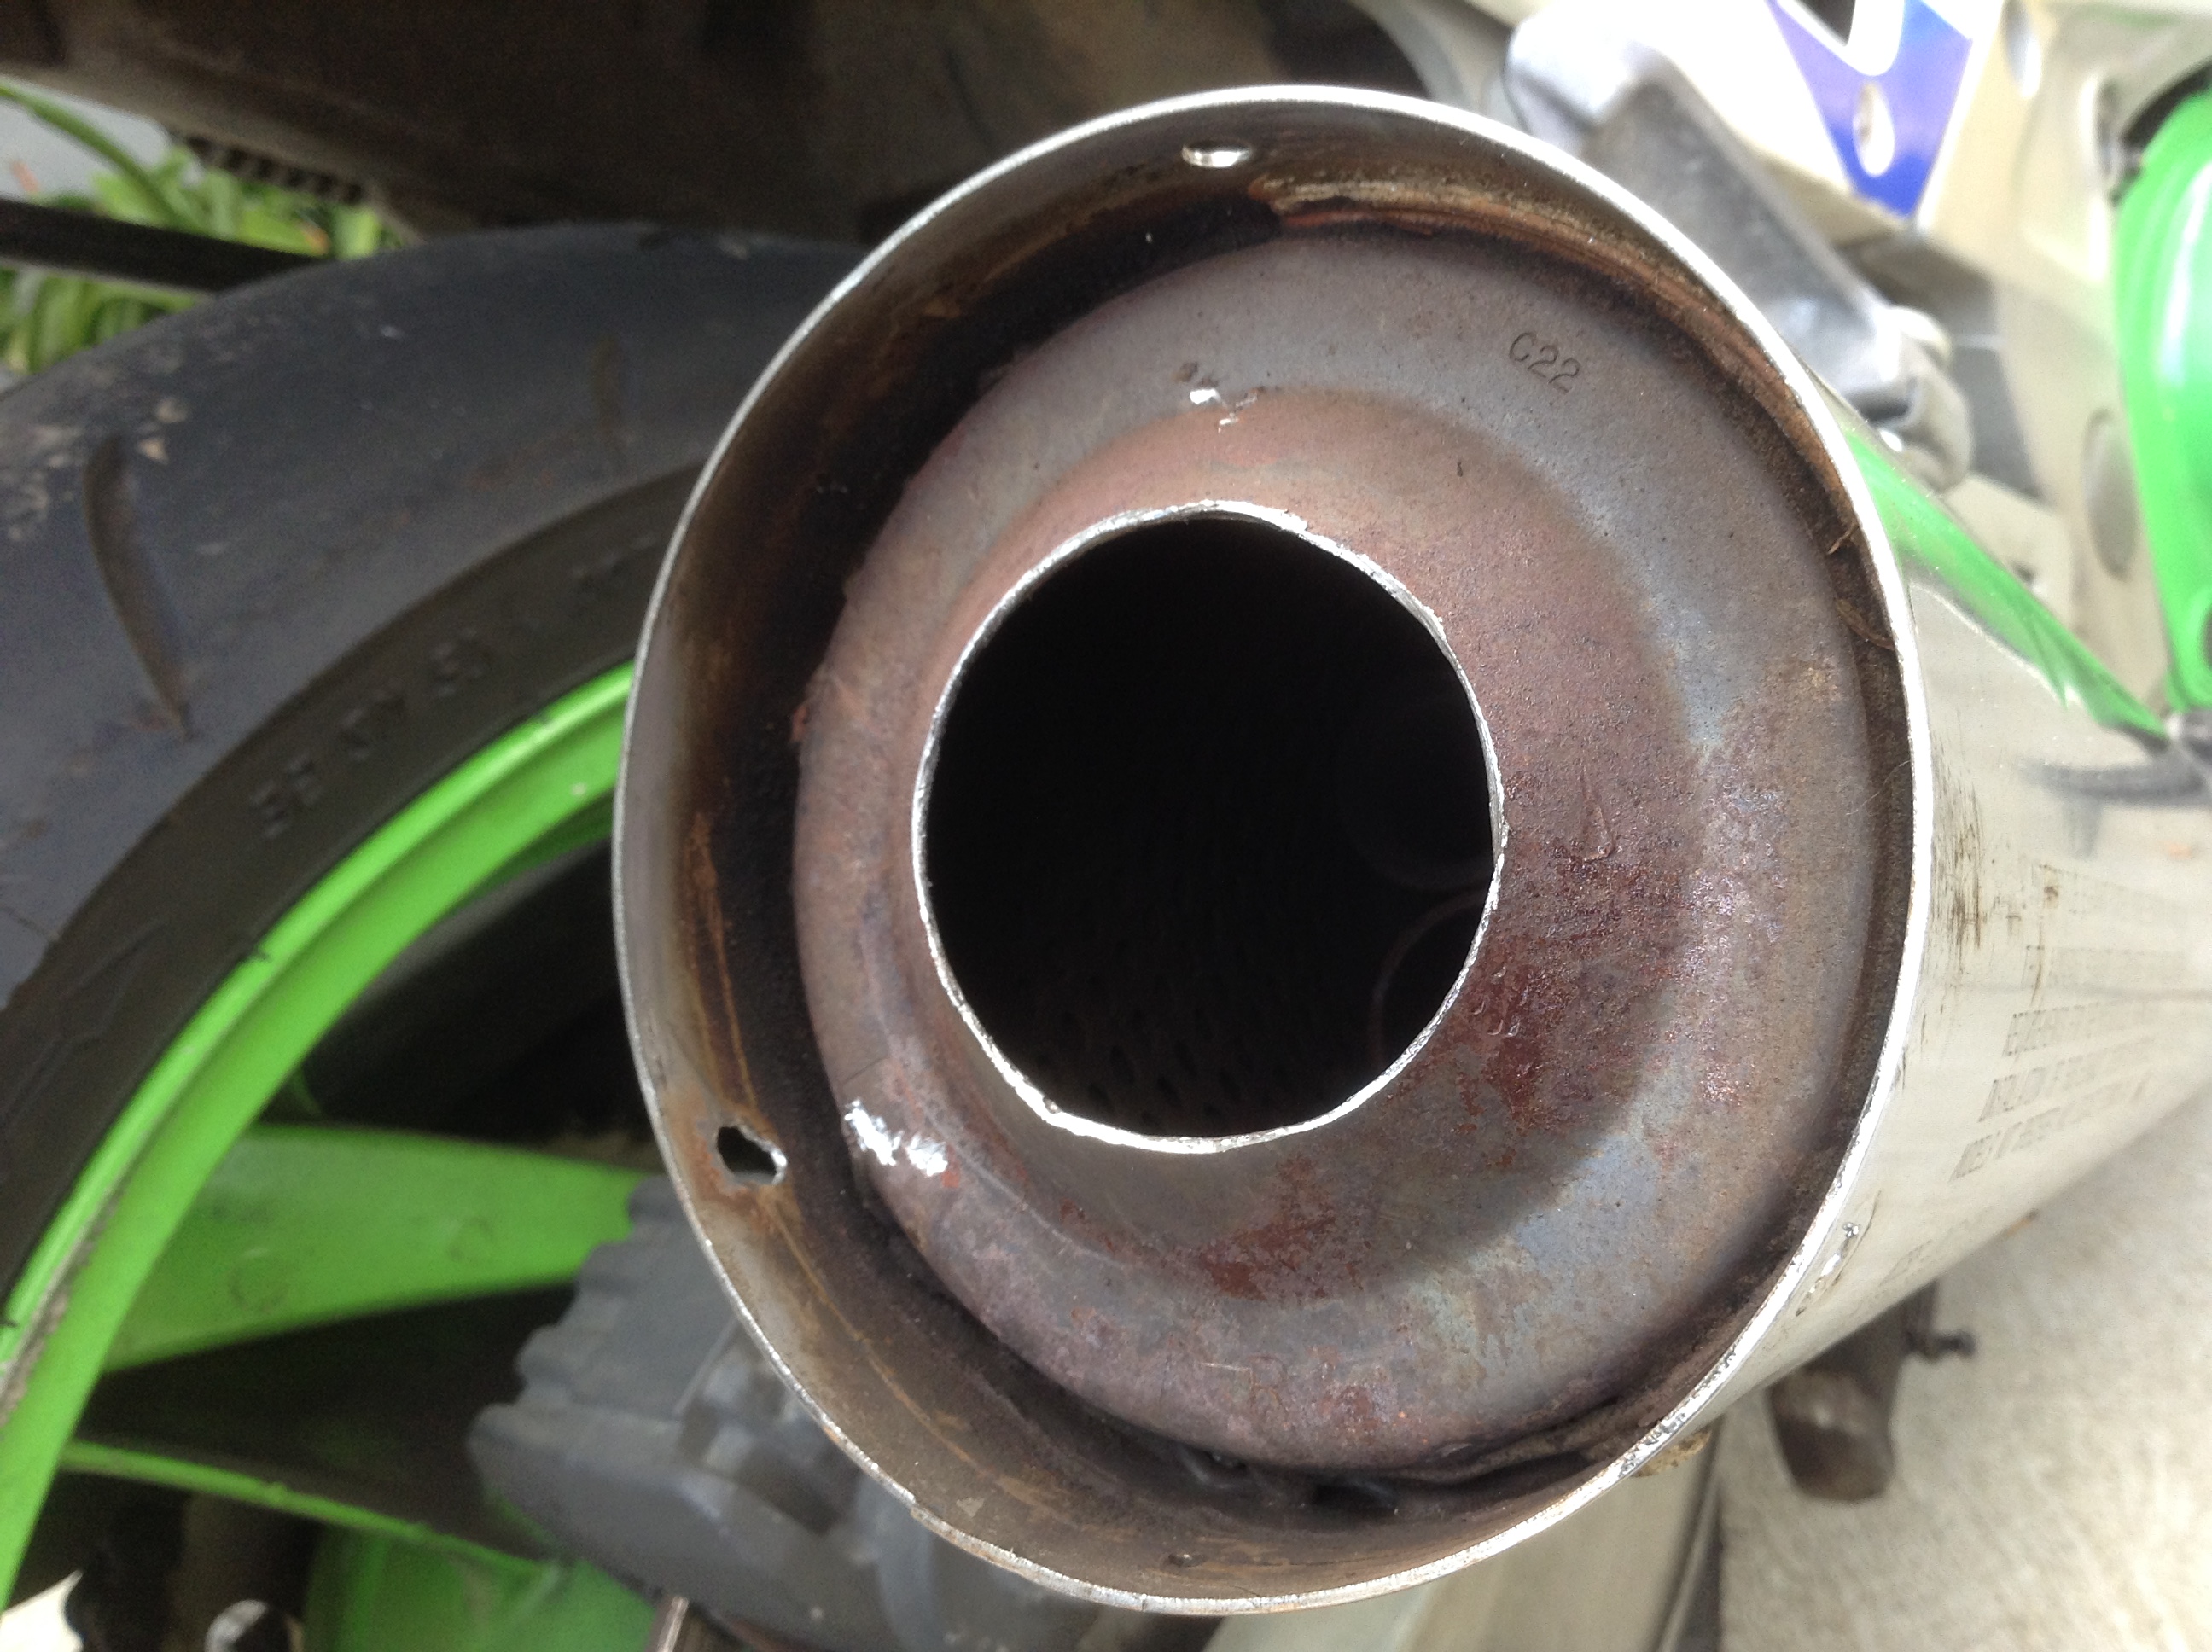
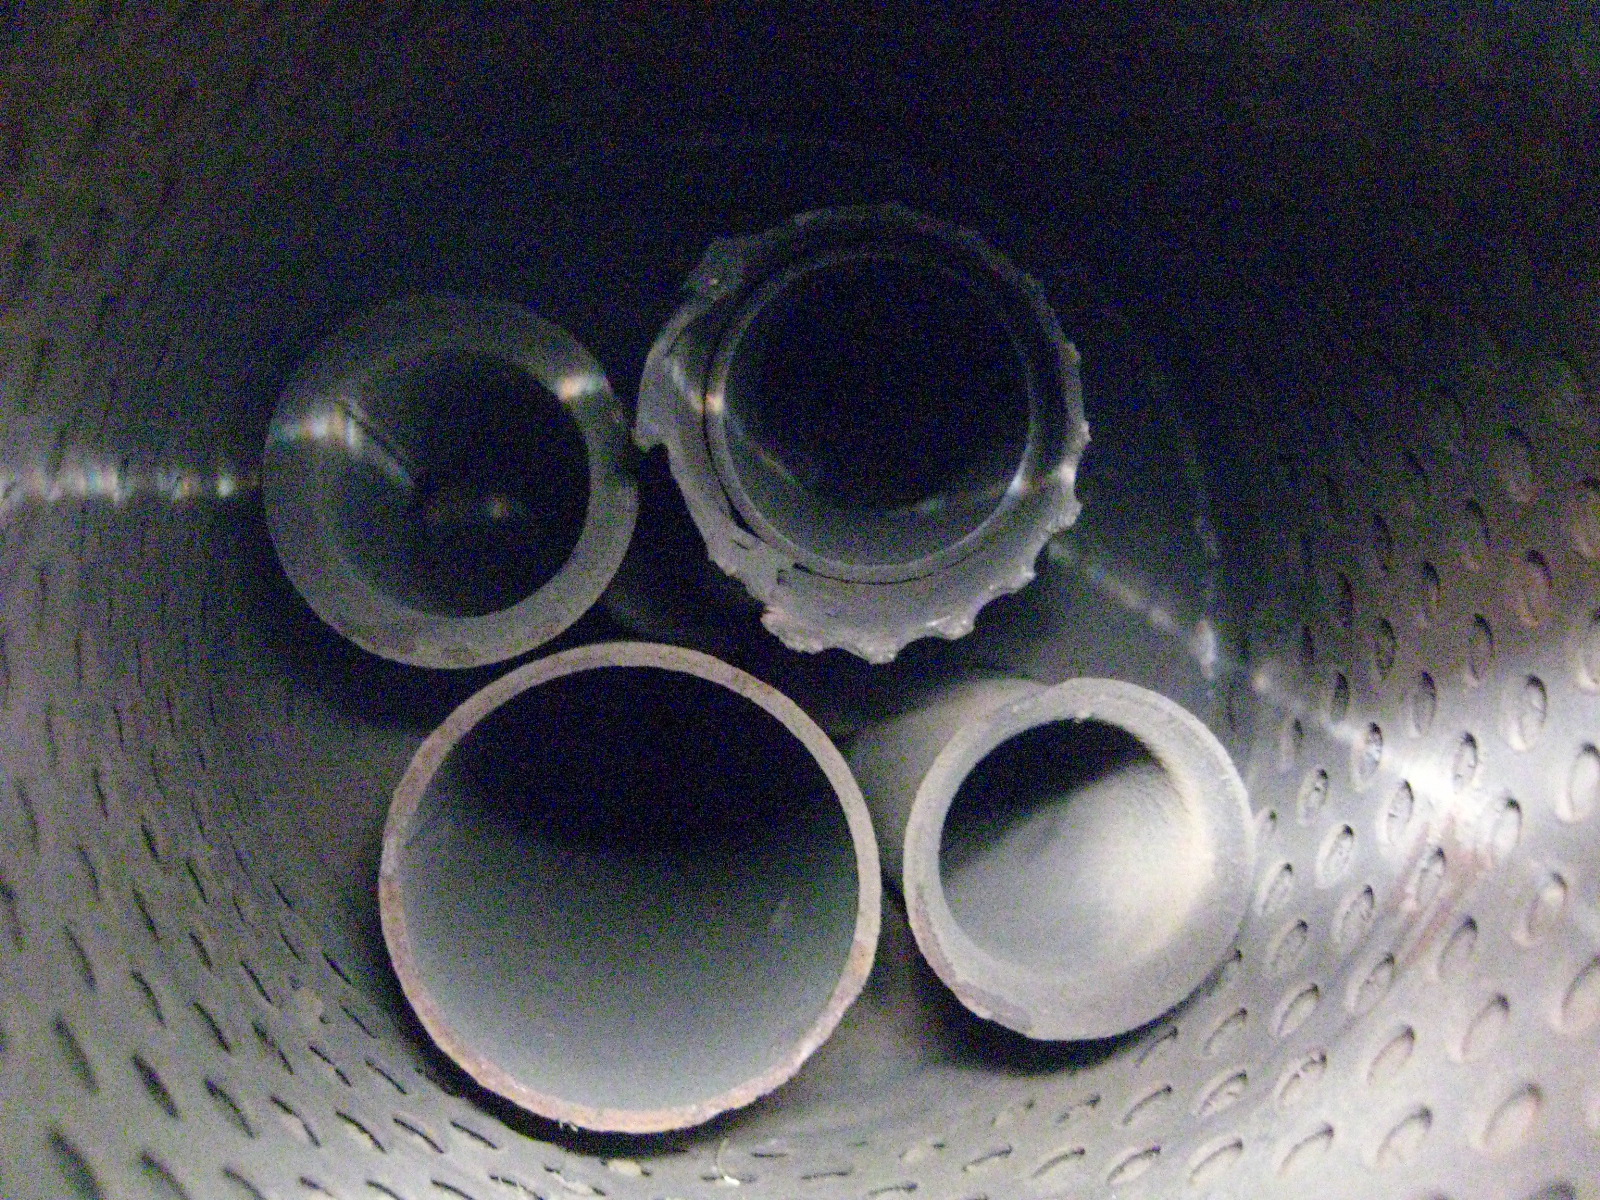
Removing the end caps reveals this:
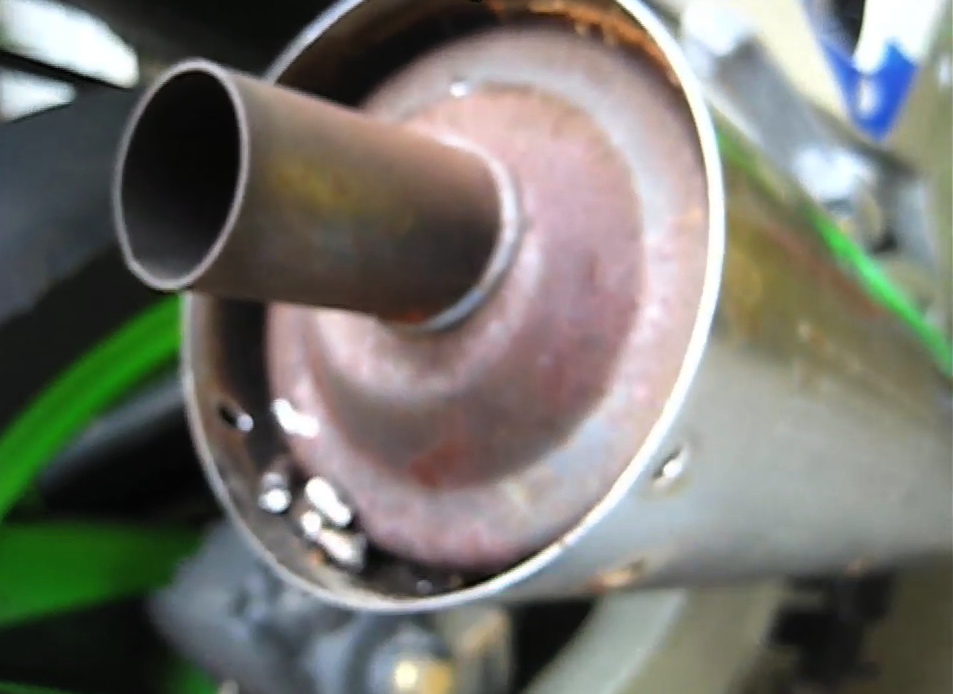
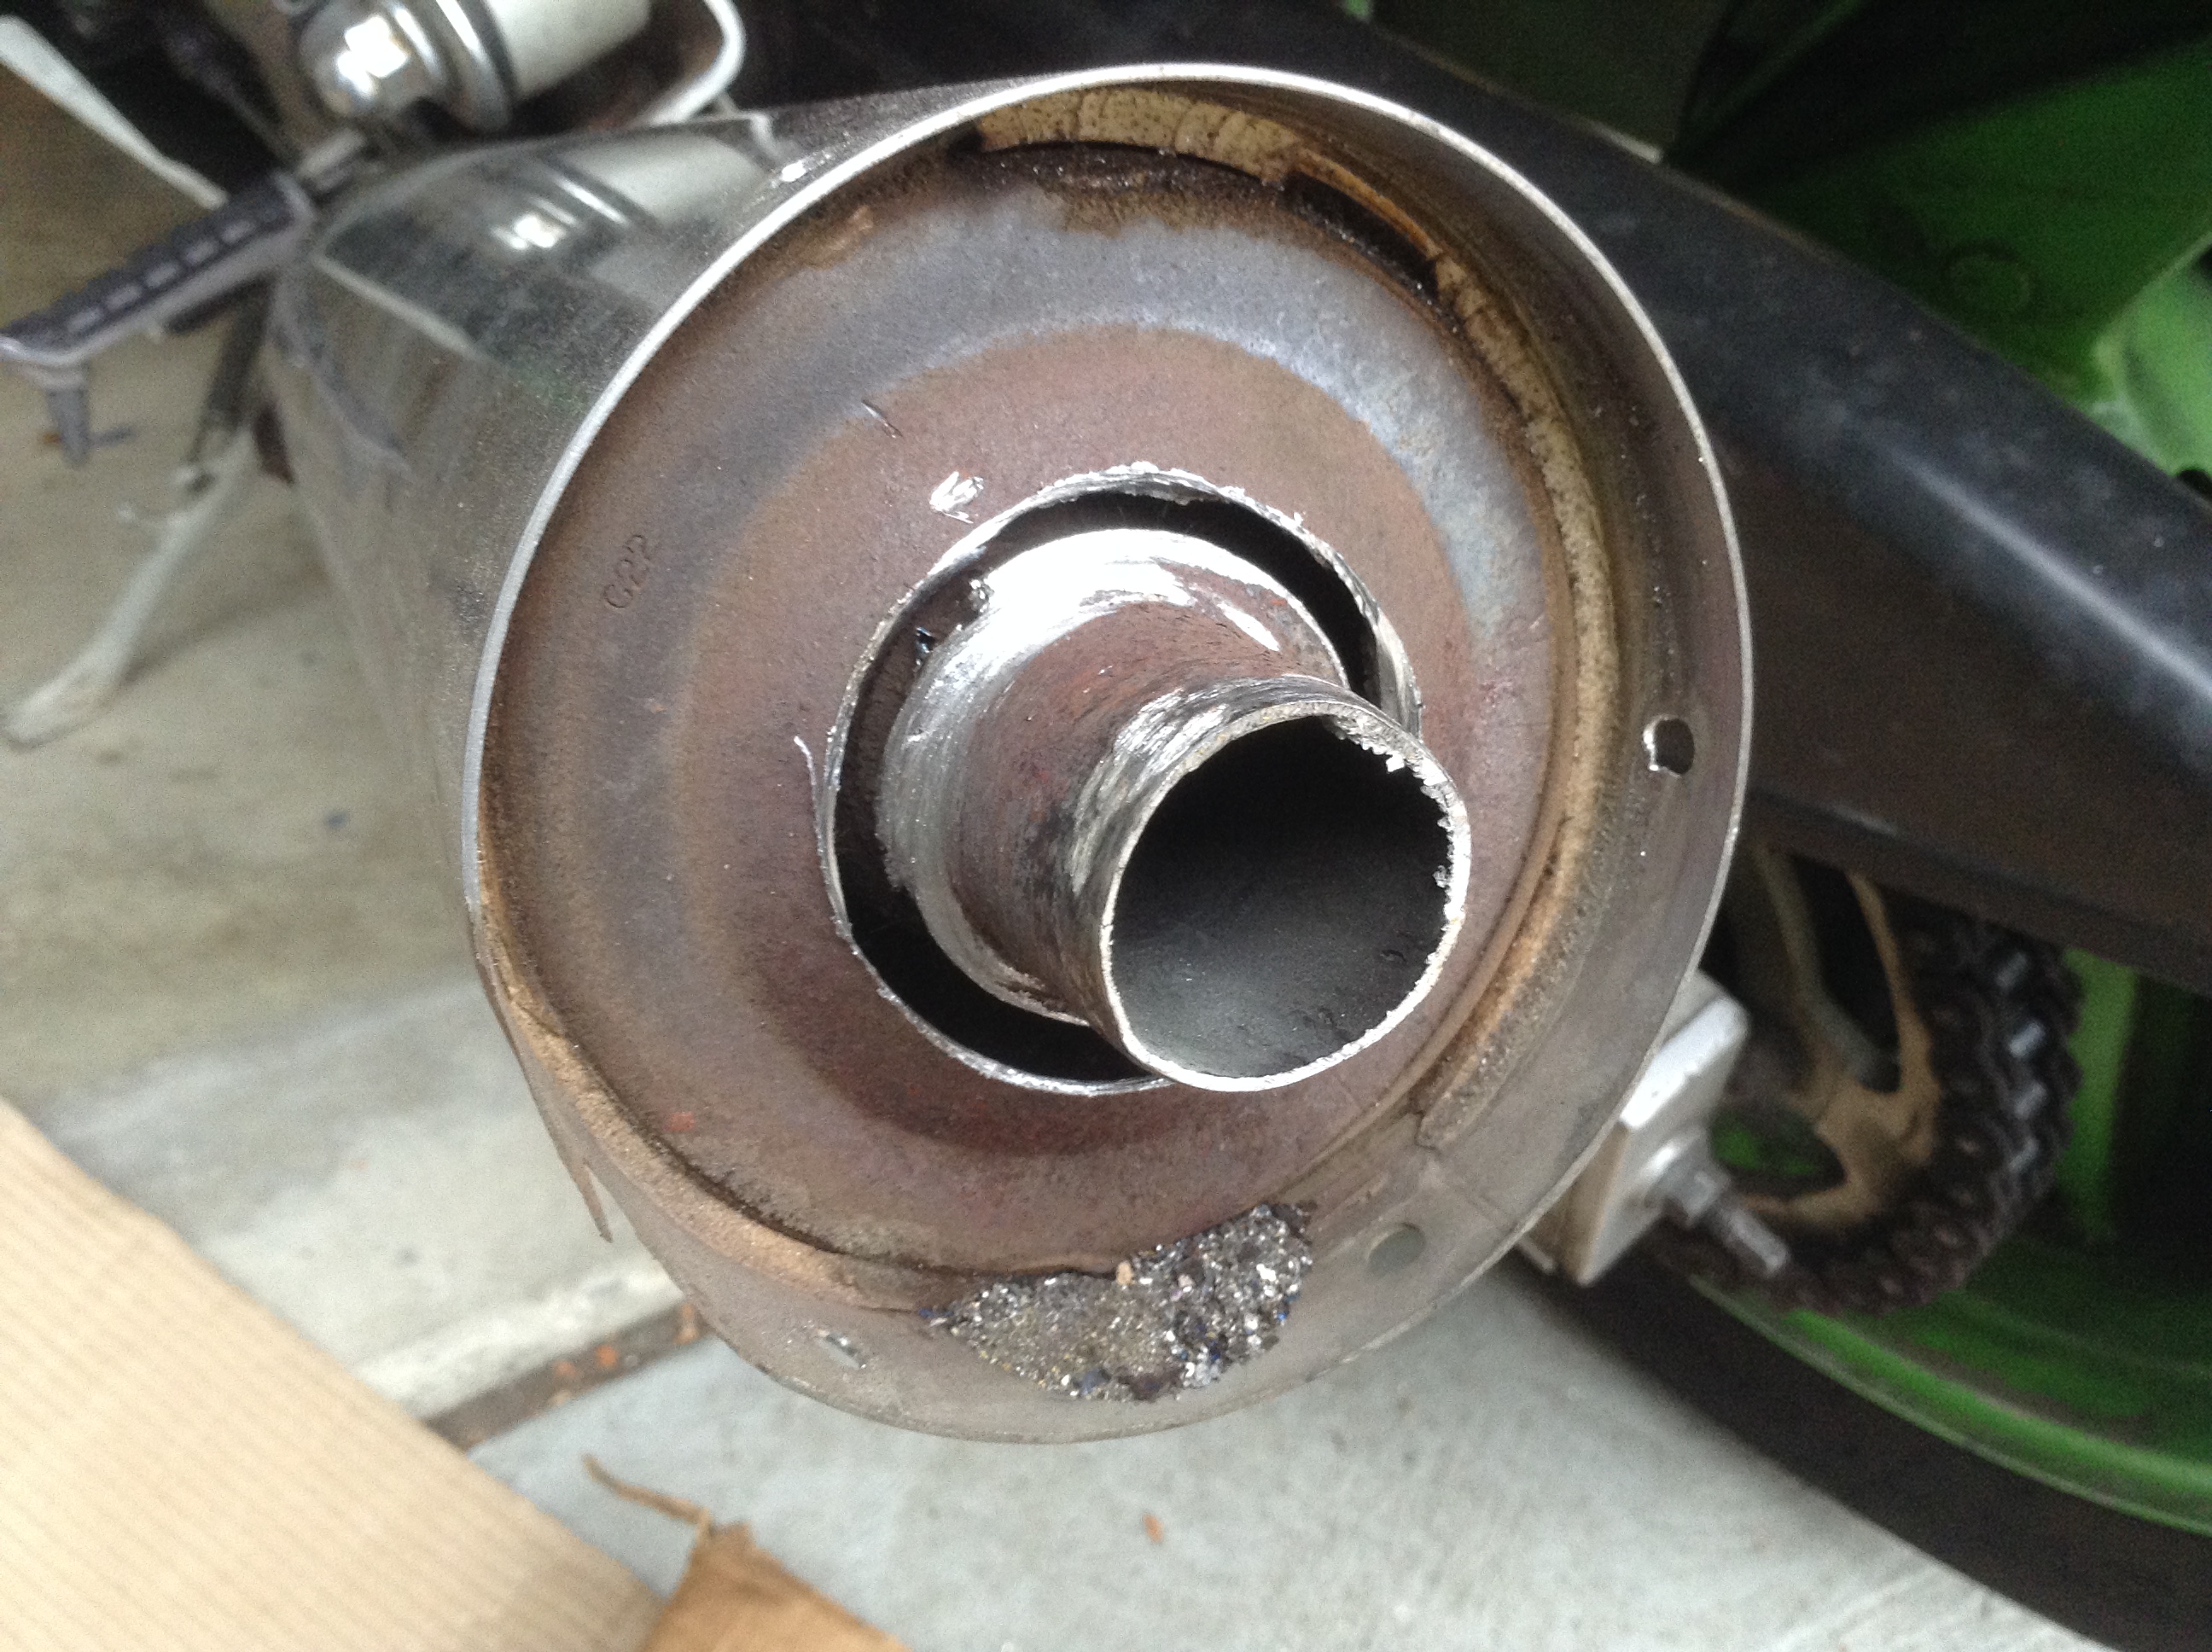
This is the final tail pipe that comes from 1 of 4 pipes inside as you are about to see.
Then, I used a 1 + 3/4″ (44mm) hole saw for metal to make it fairly easy.

To get the holesaw to bite into the base of the end of the exhaust I cut the tail pipe off with a hacksaw first – maybe 1.5″ off or so.
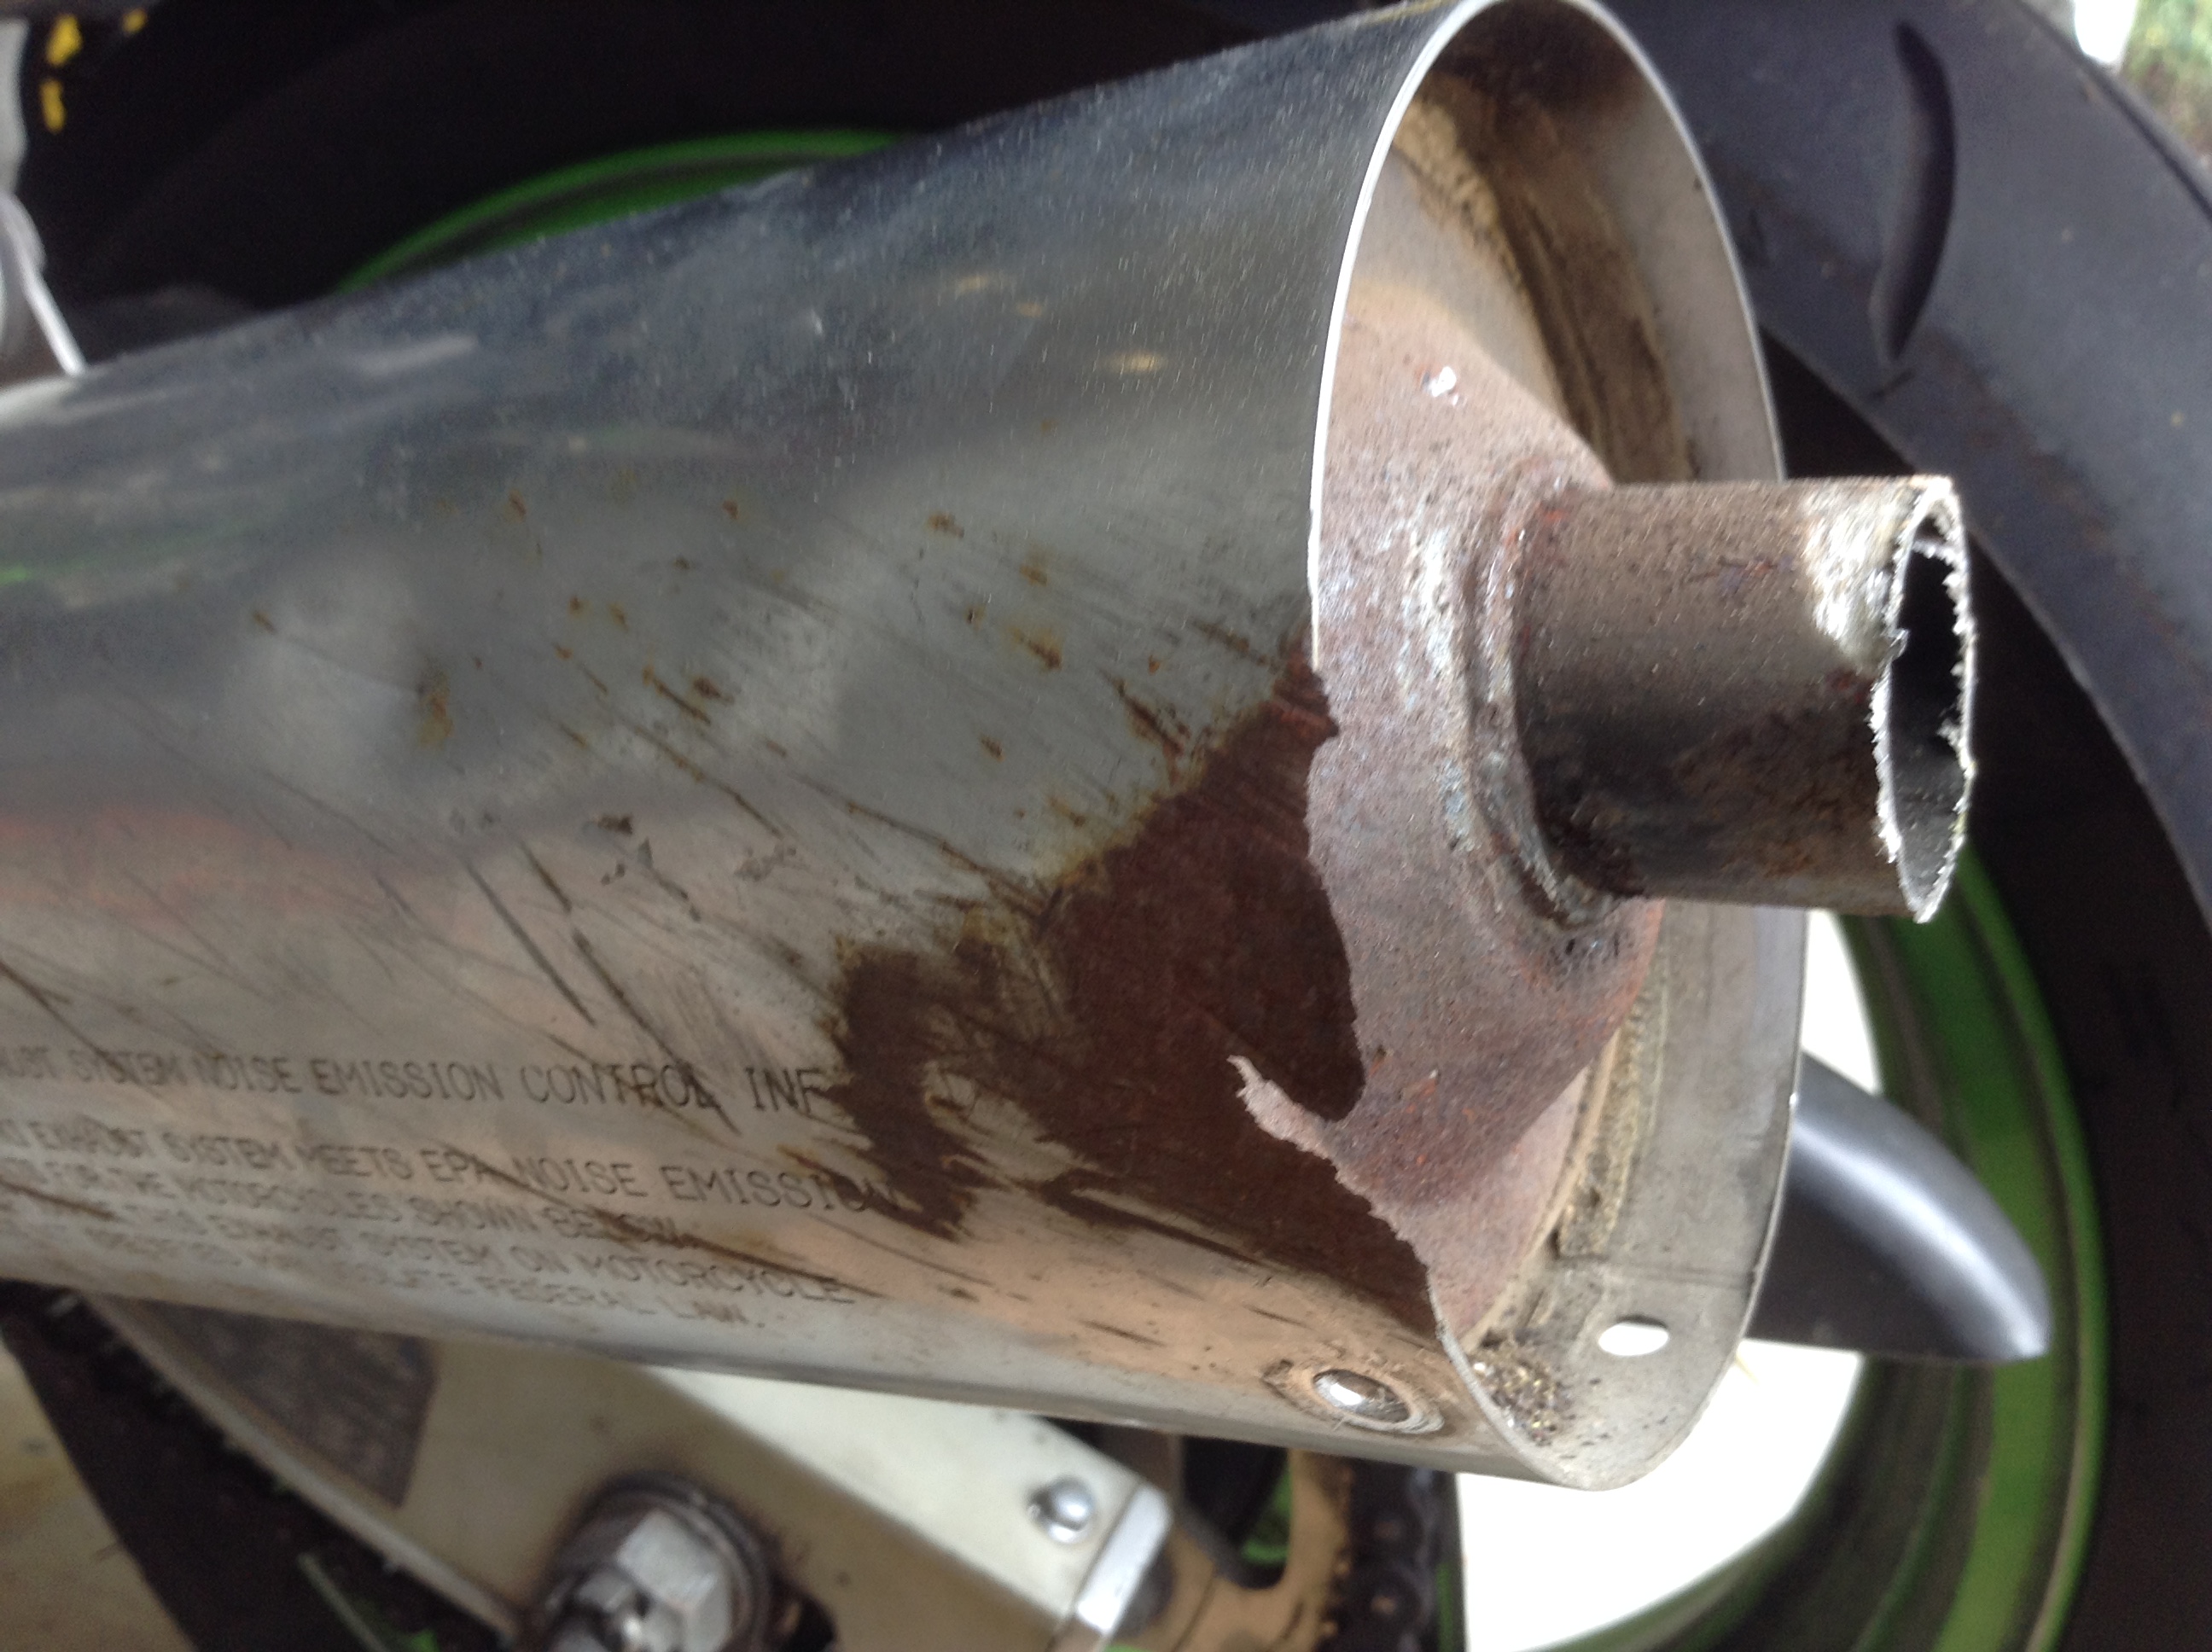

Then the hole saw will easily reach the metal to cut.
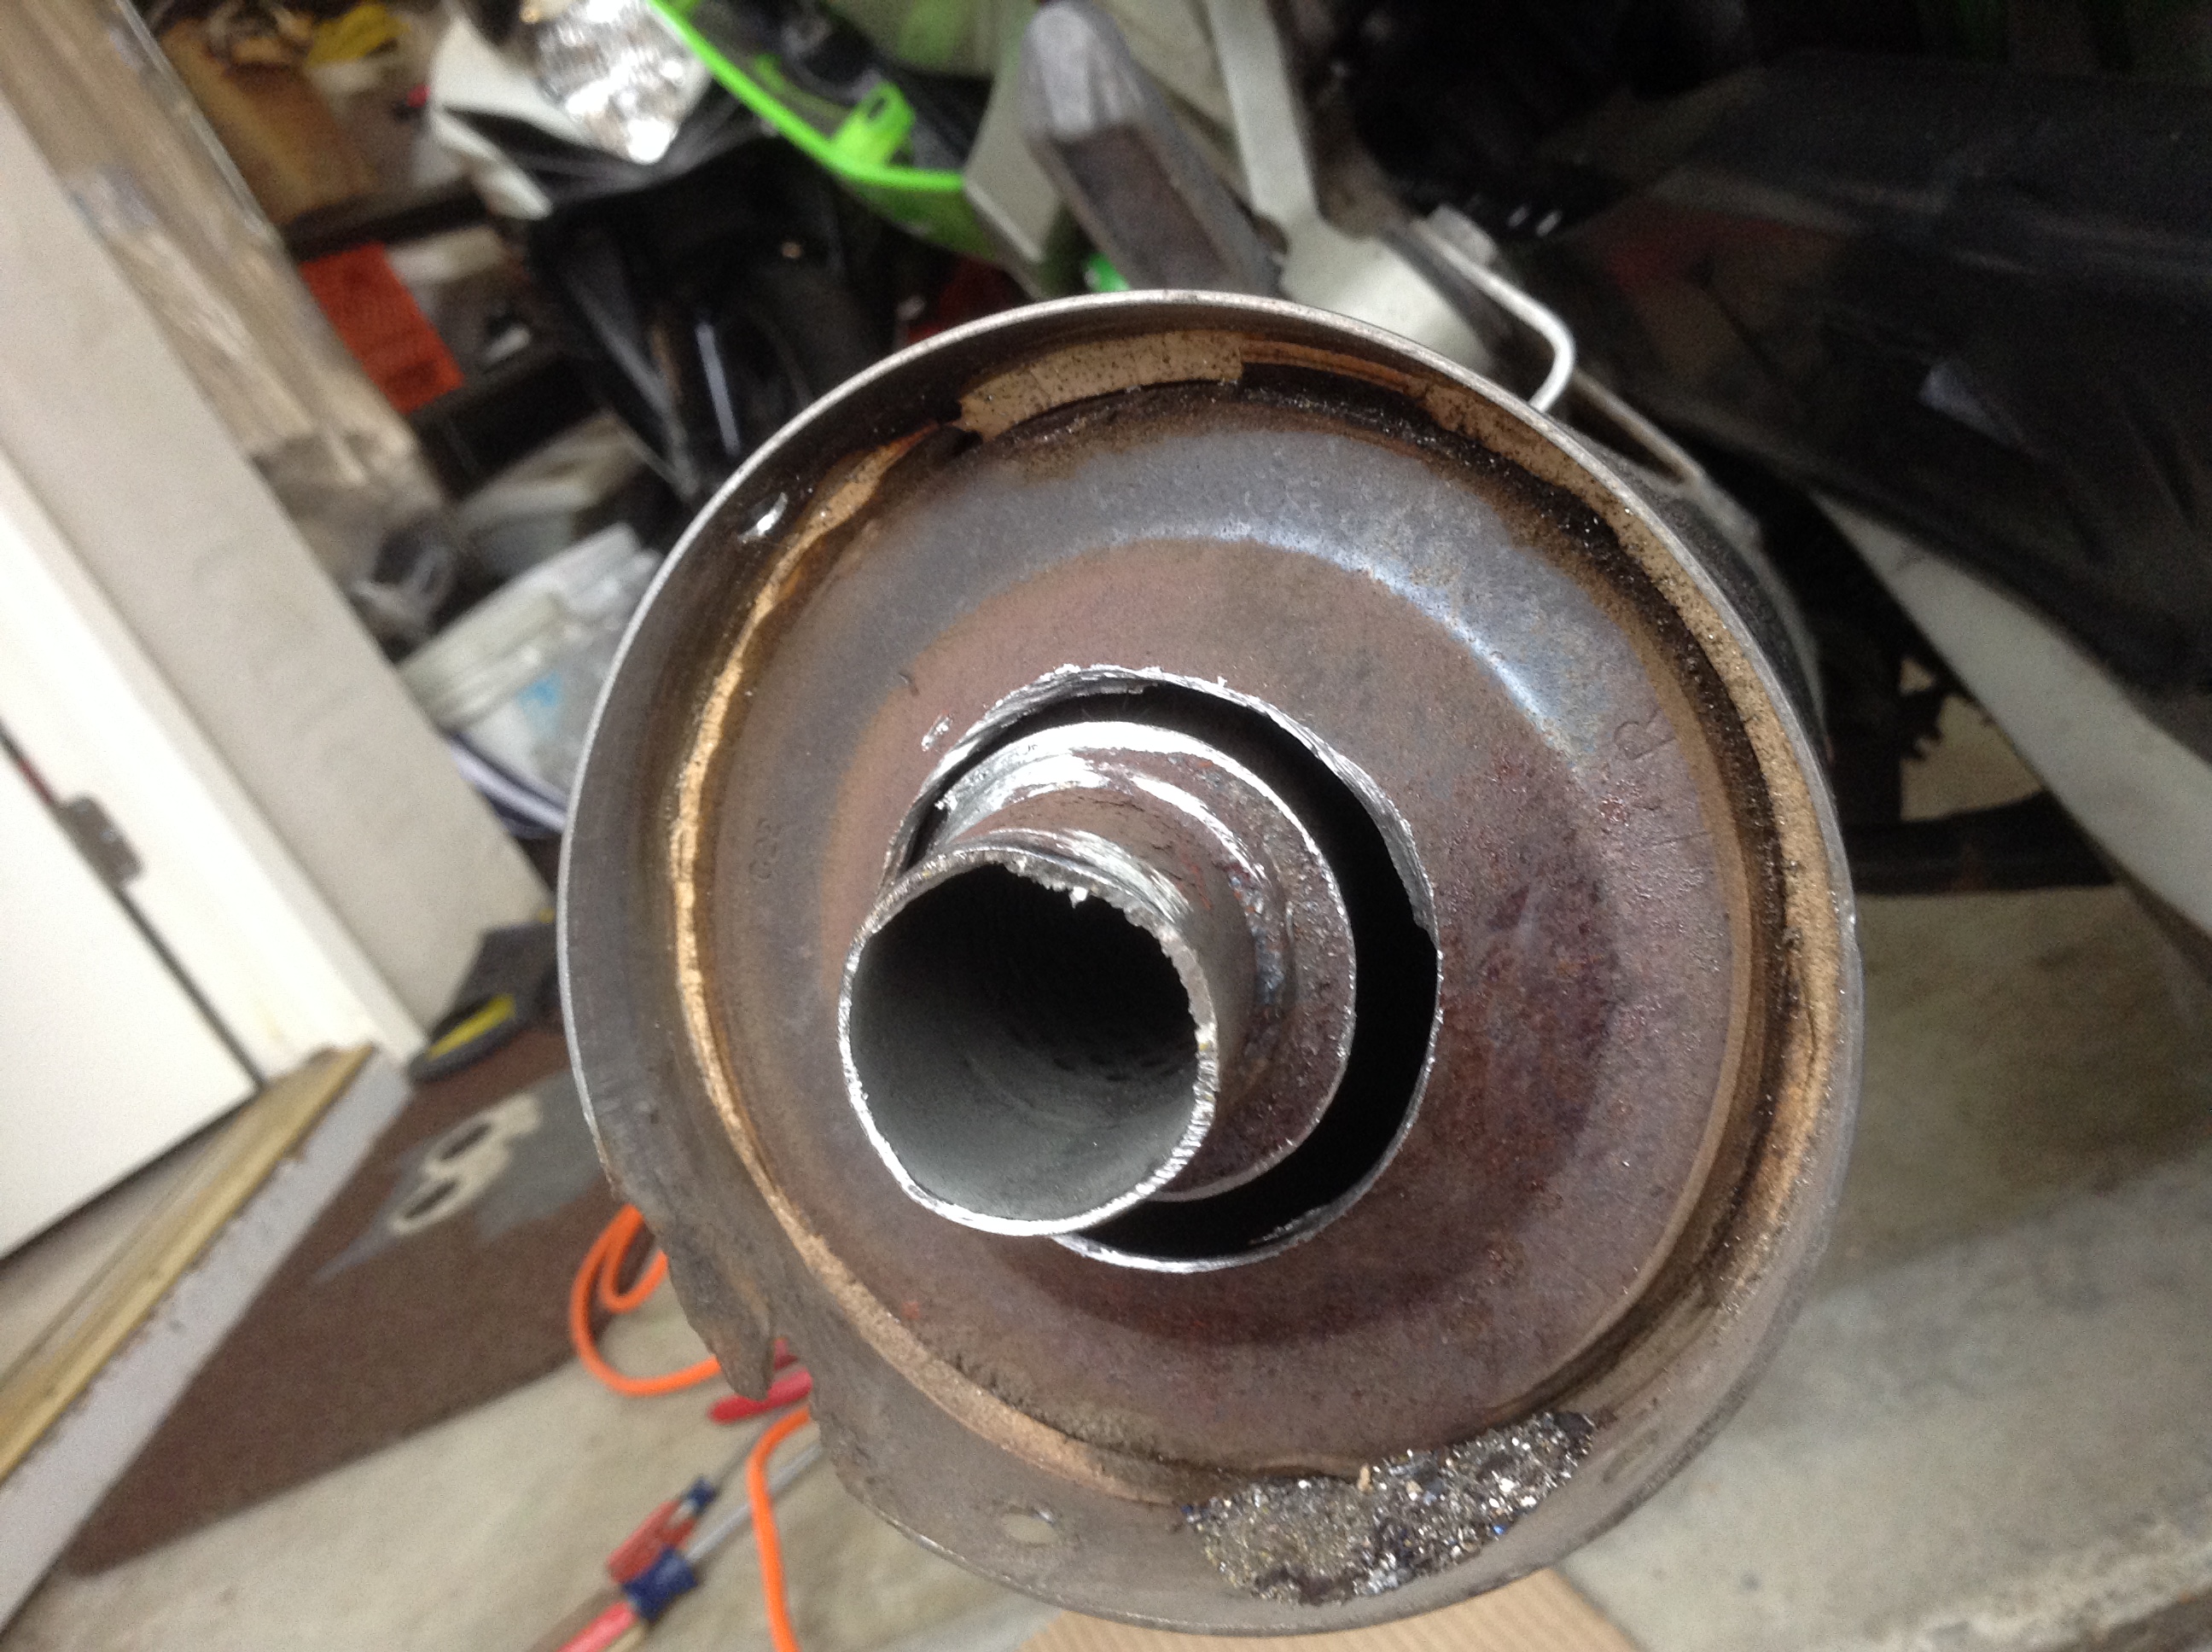
Once that’s done, you now need to break the inside weld spots on this tailpipe / baffle. I jammed a wooden dowel in there, and used lockjaw pliers to put a lot of force on it, mostly rotating. You might find this step easier with a larger hole saw hole, but I didn’t want to go too big here.
It took some time but eventually you fatigue the metal and snap it off and out of there.
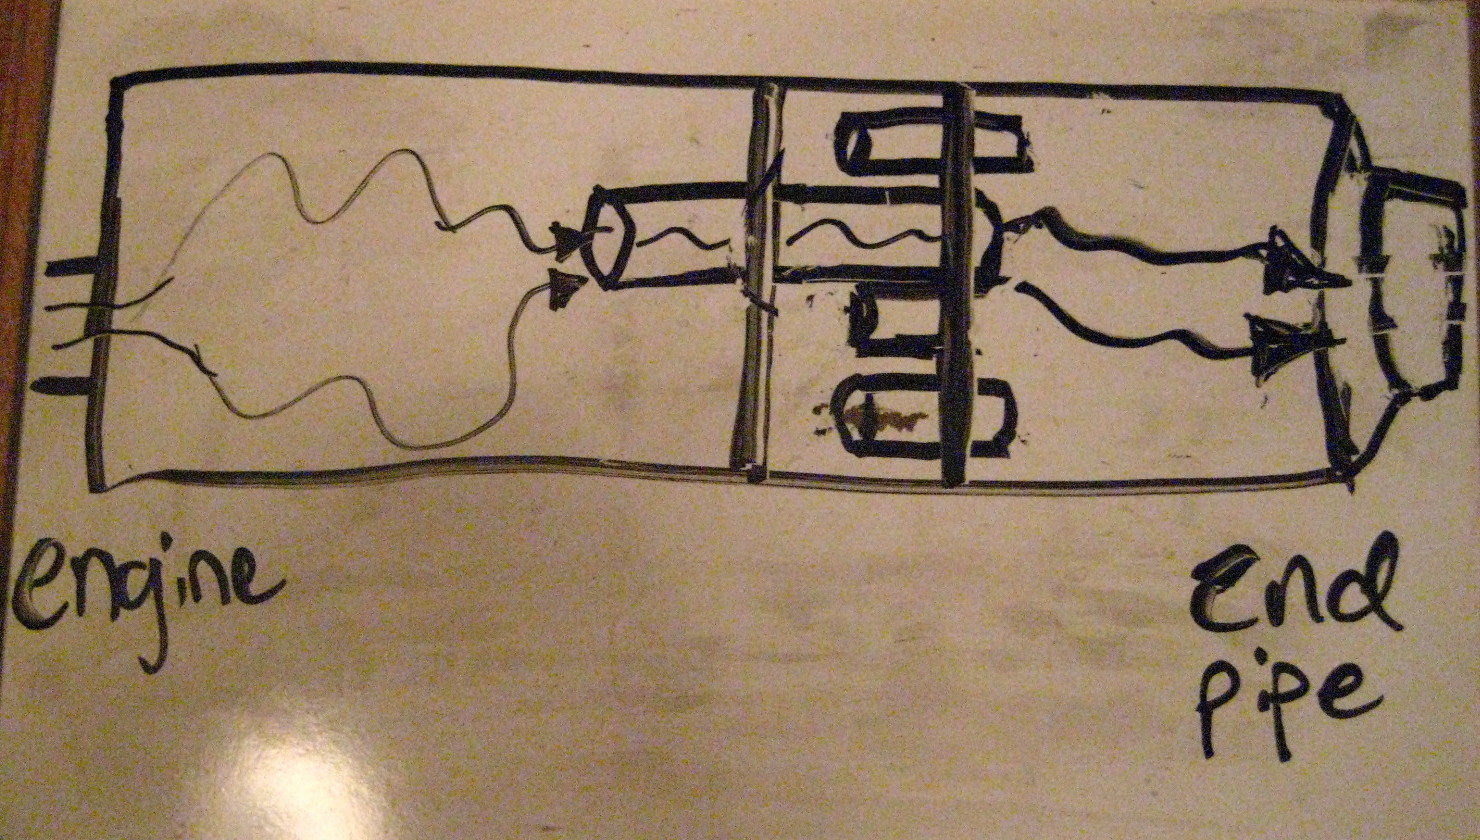
You can now see the insides of the muffler. You are looking at the plate of the middle chamber.
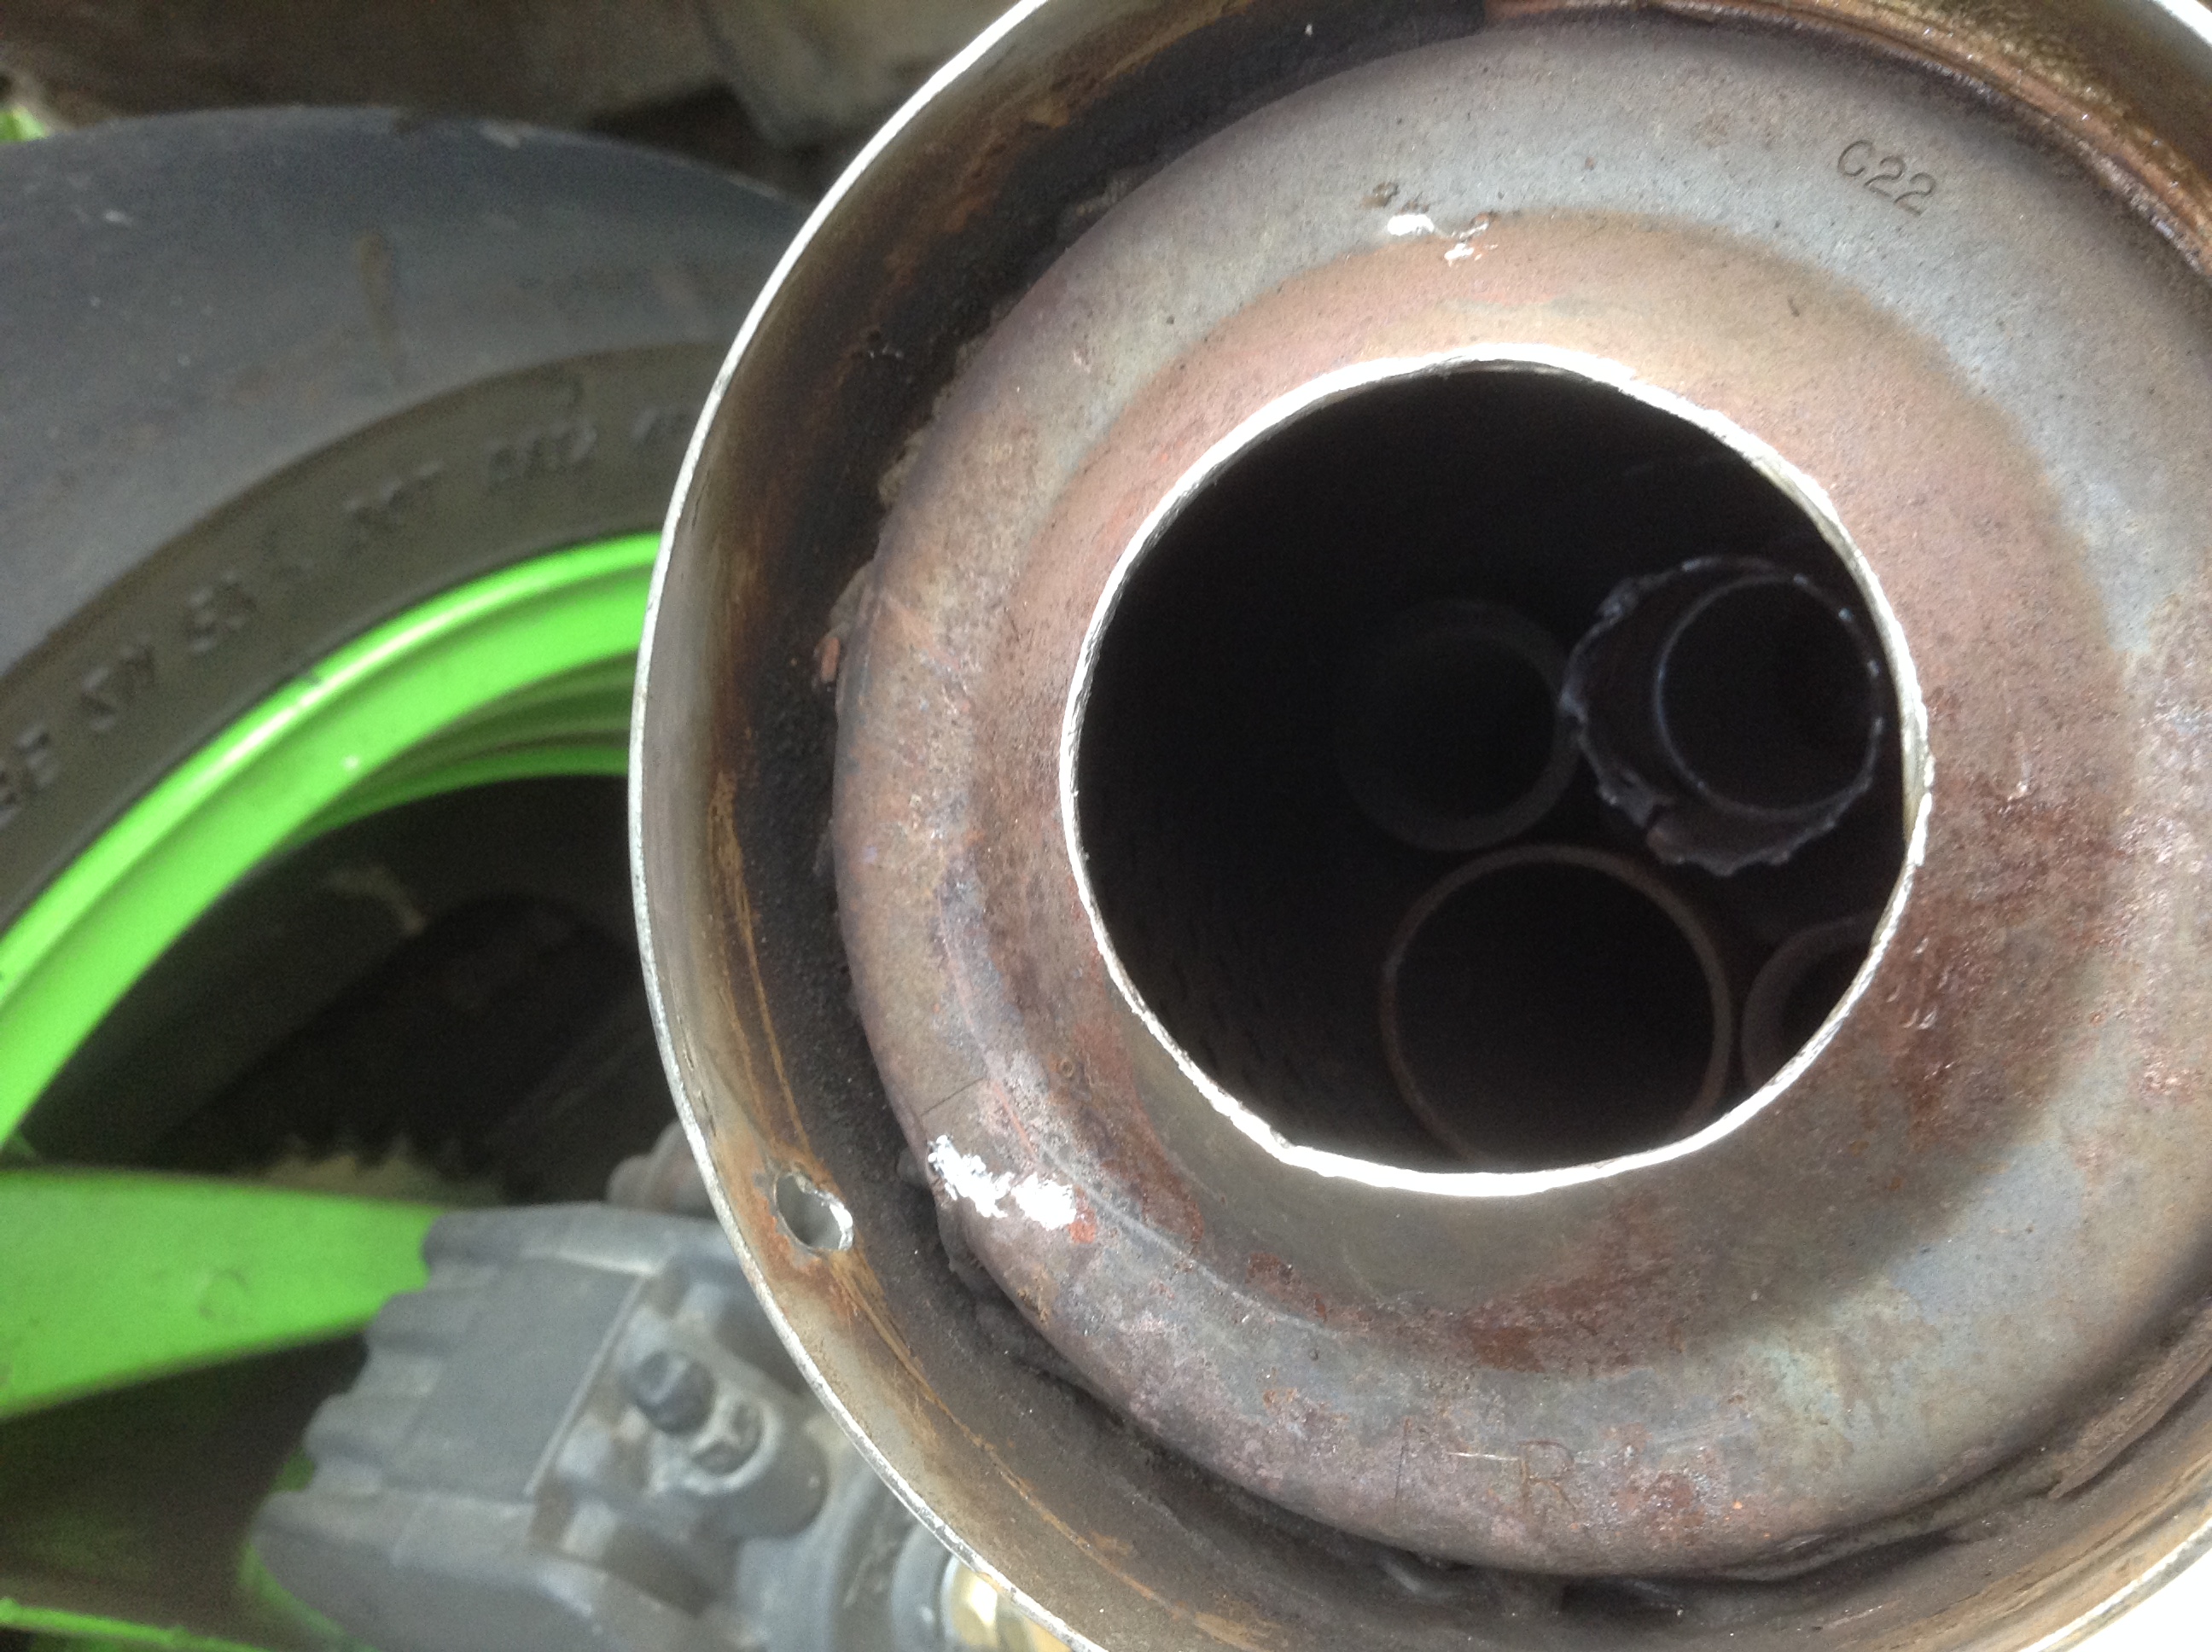

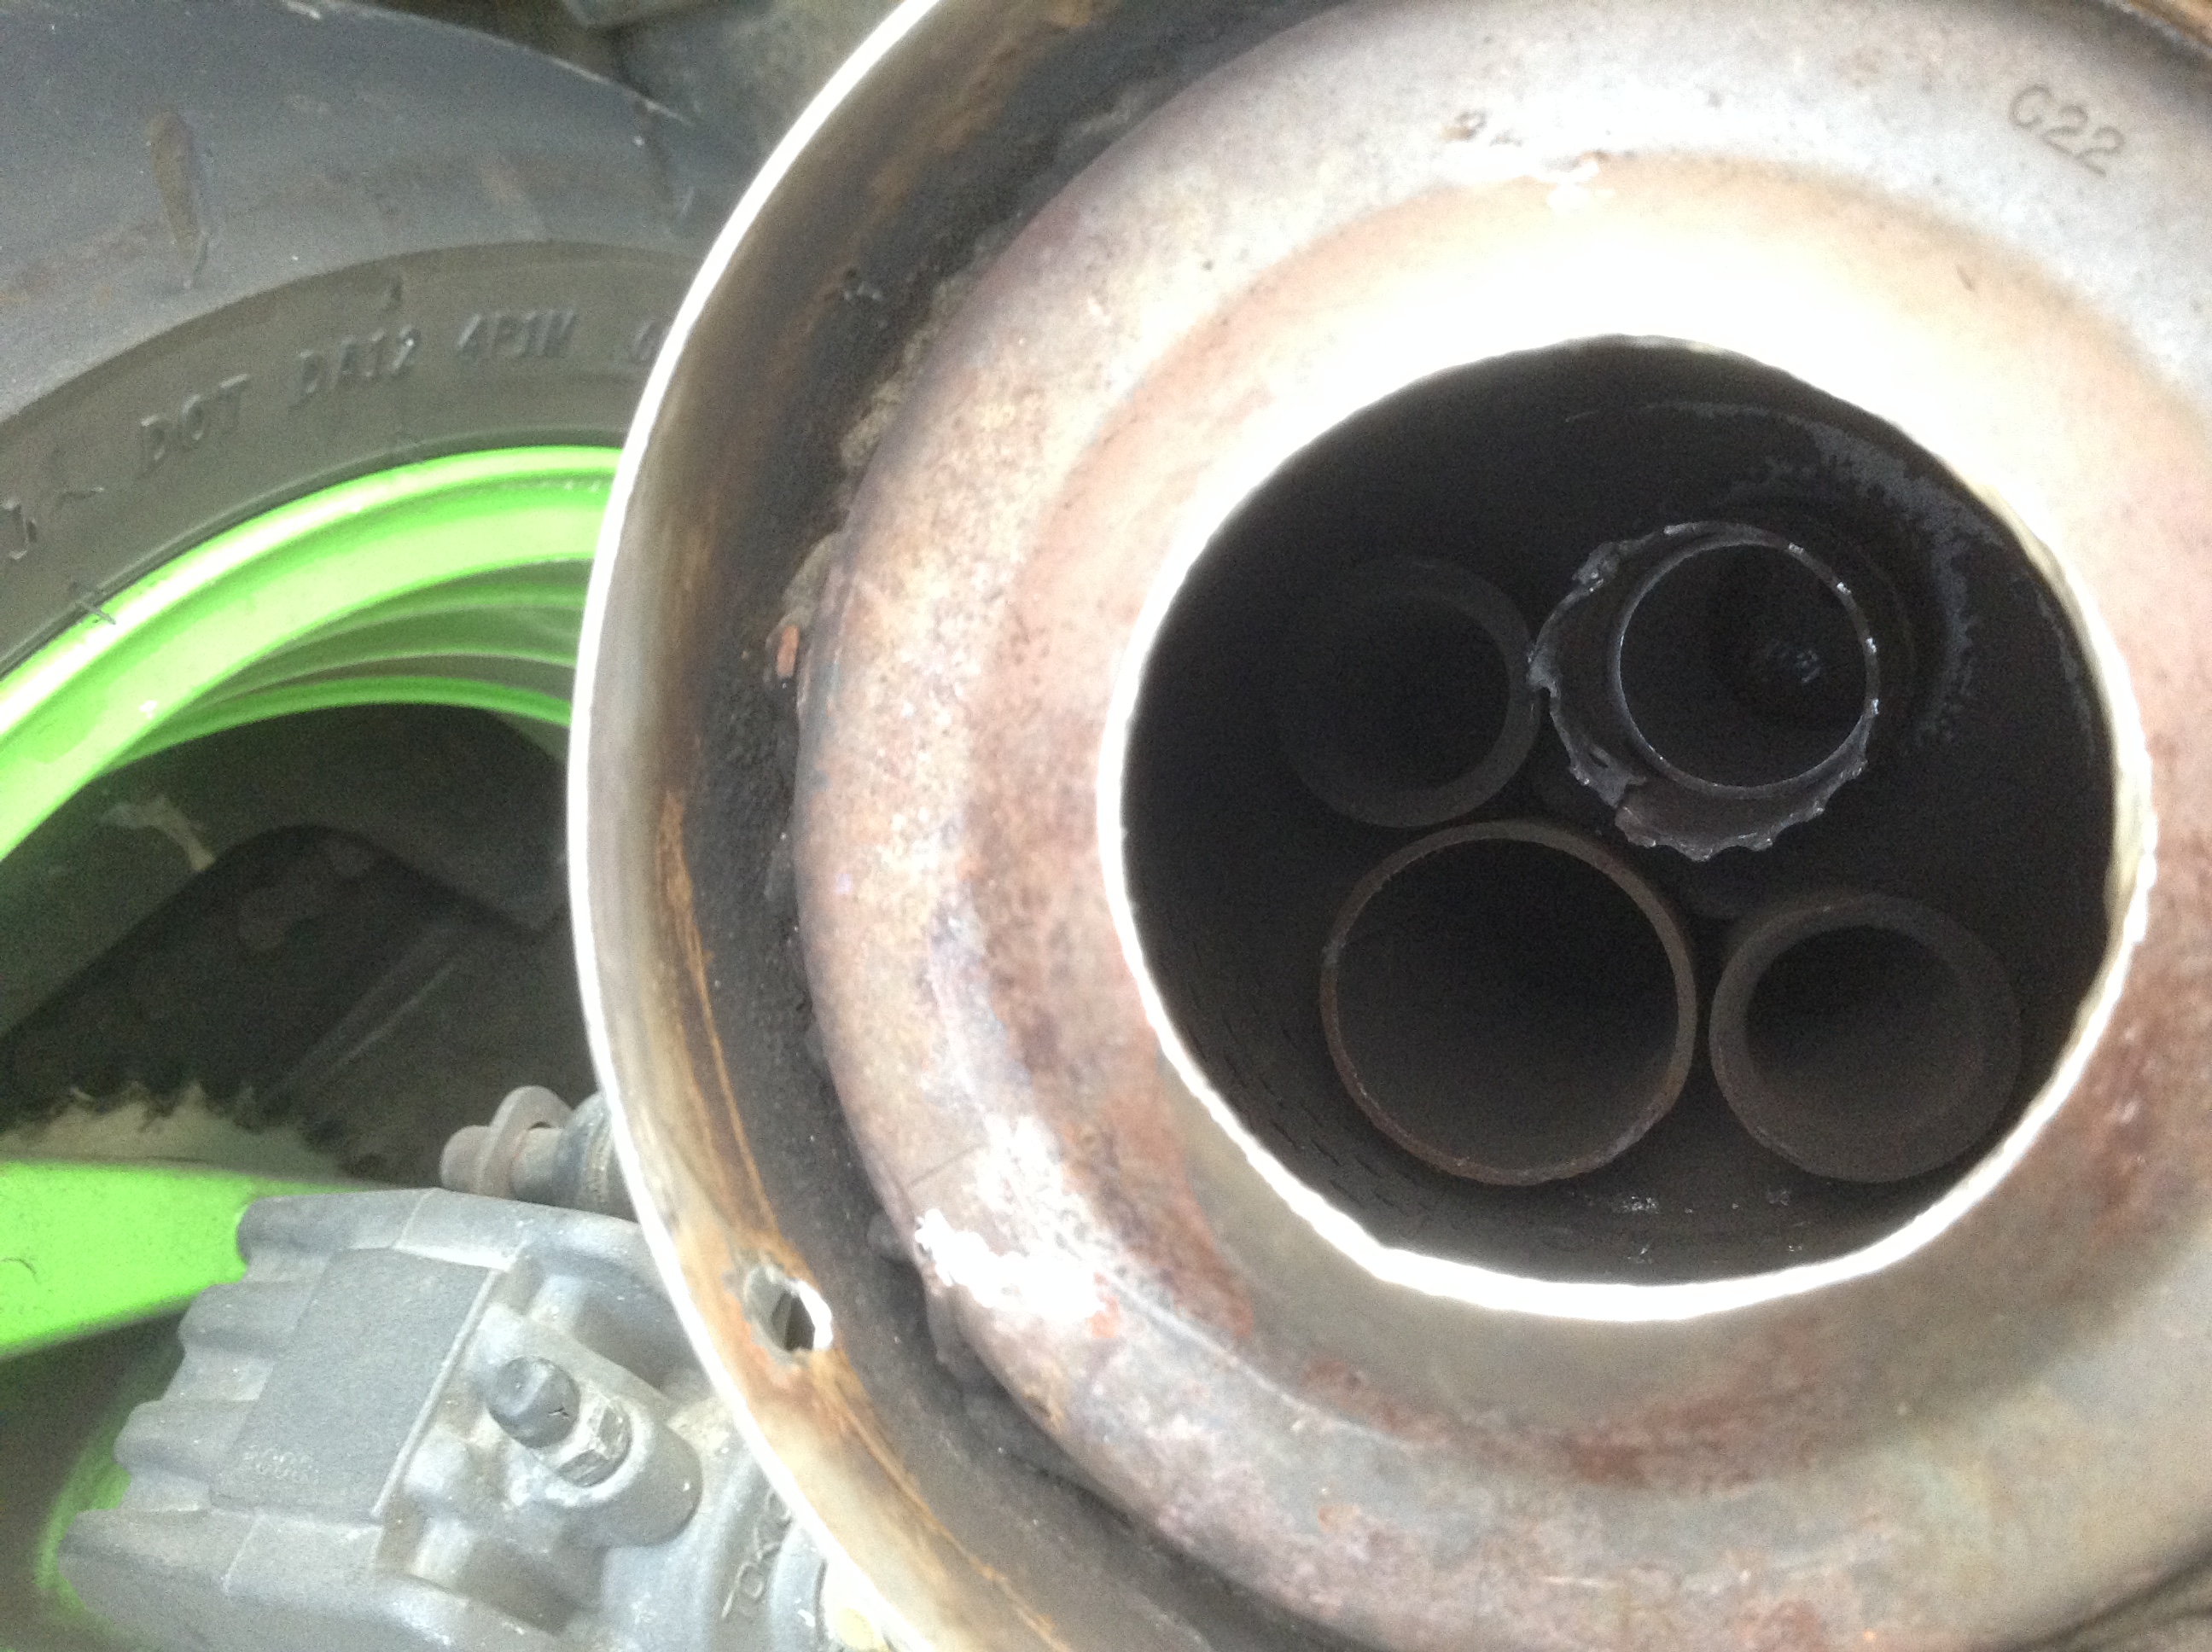

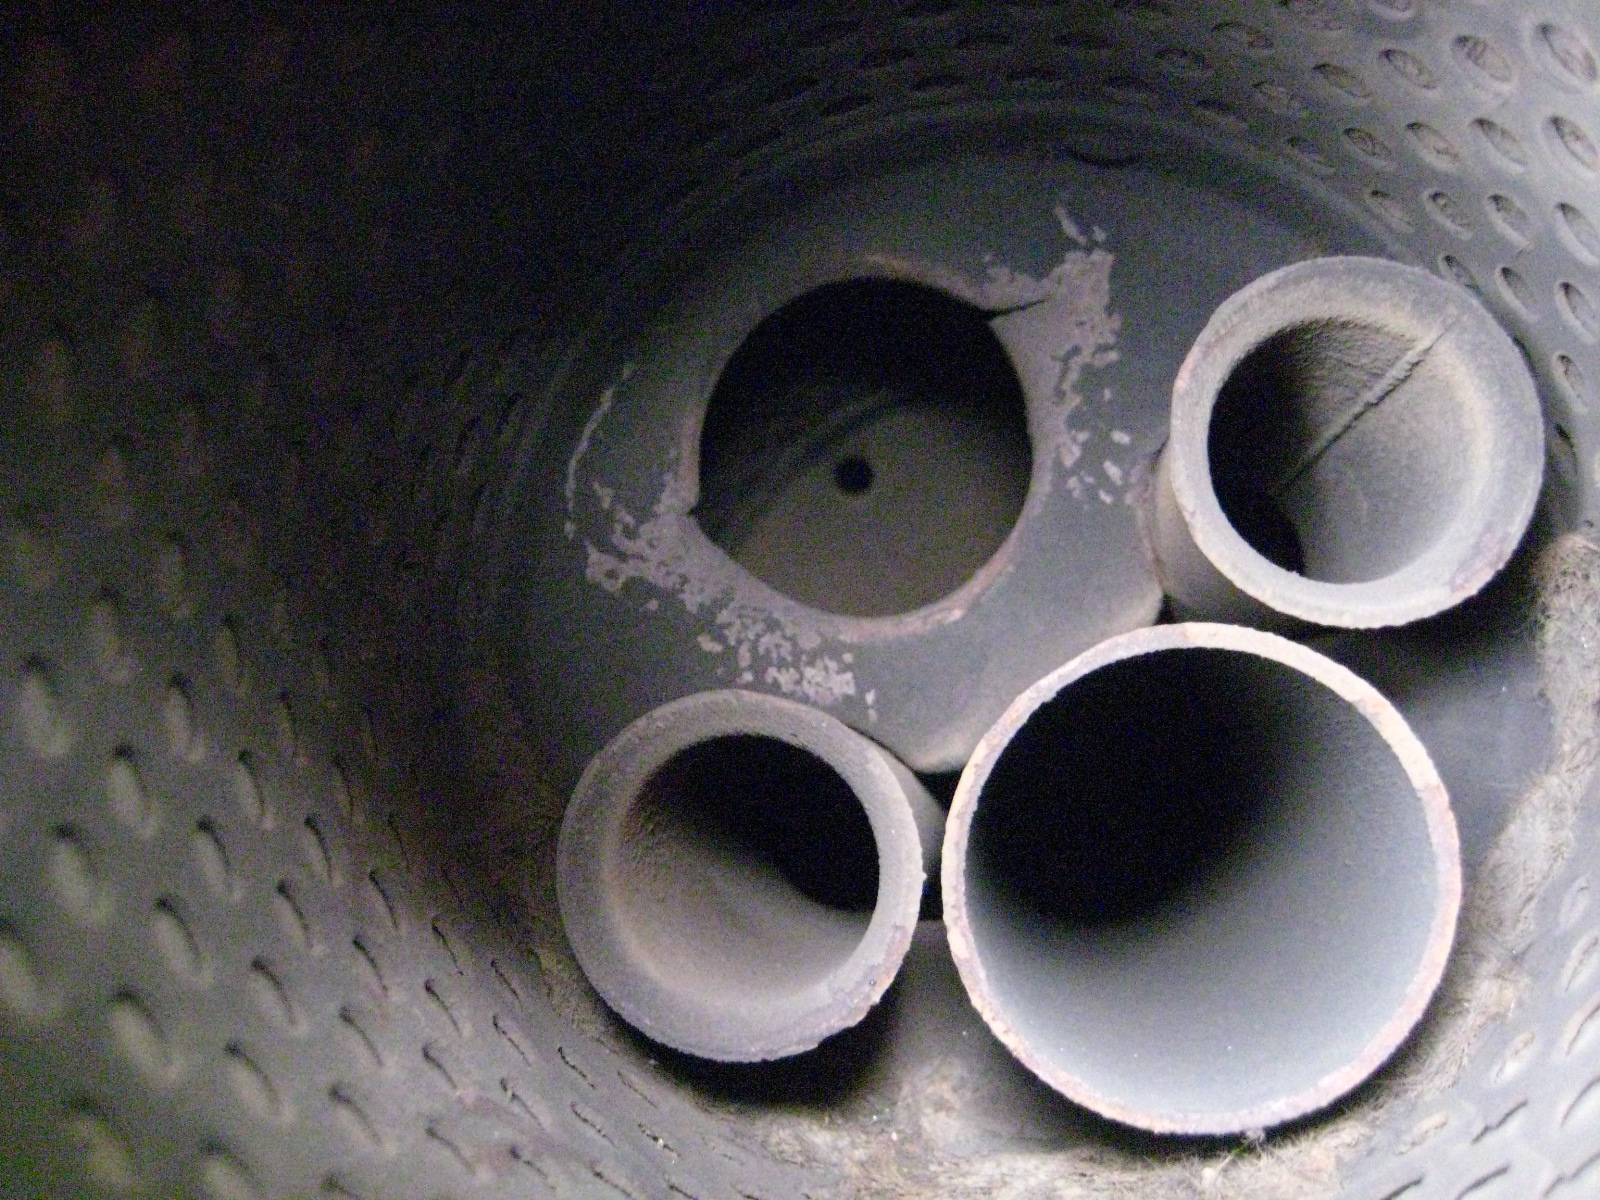
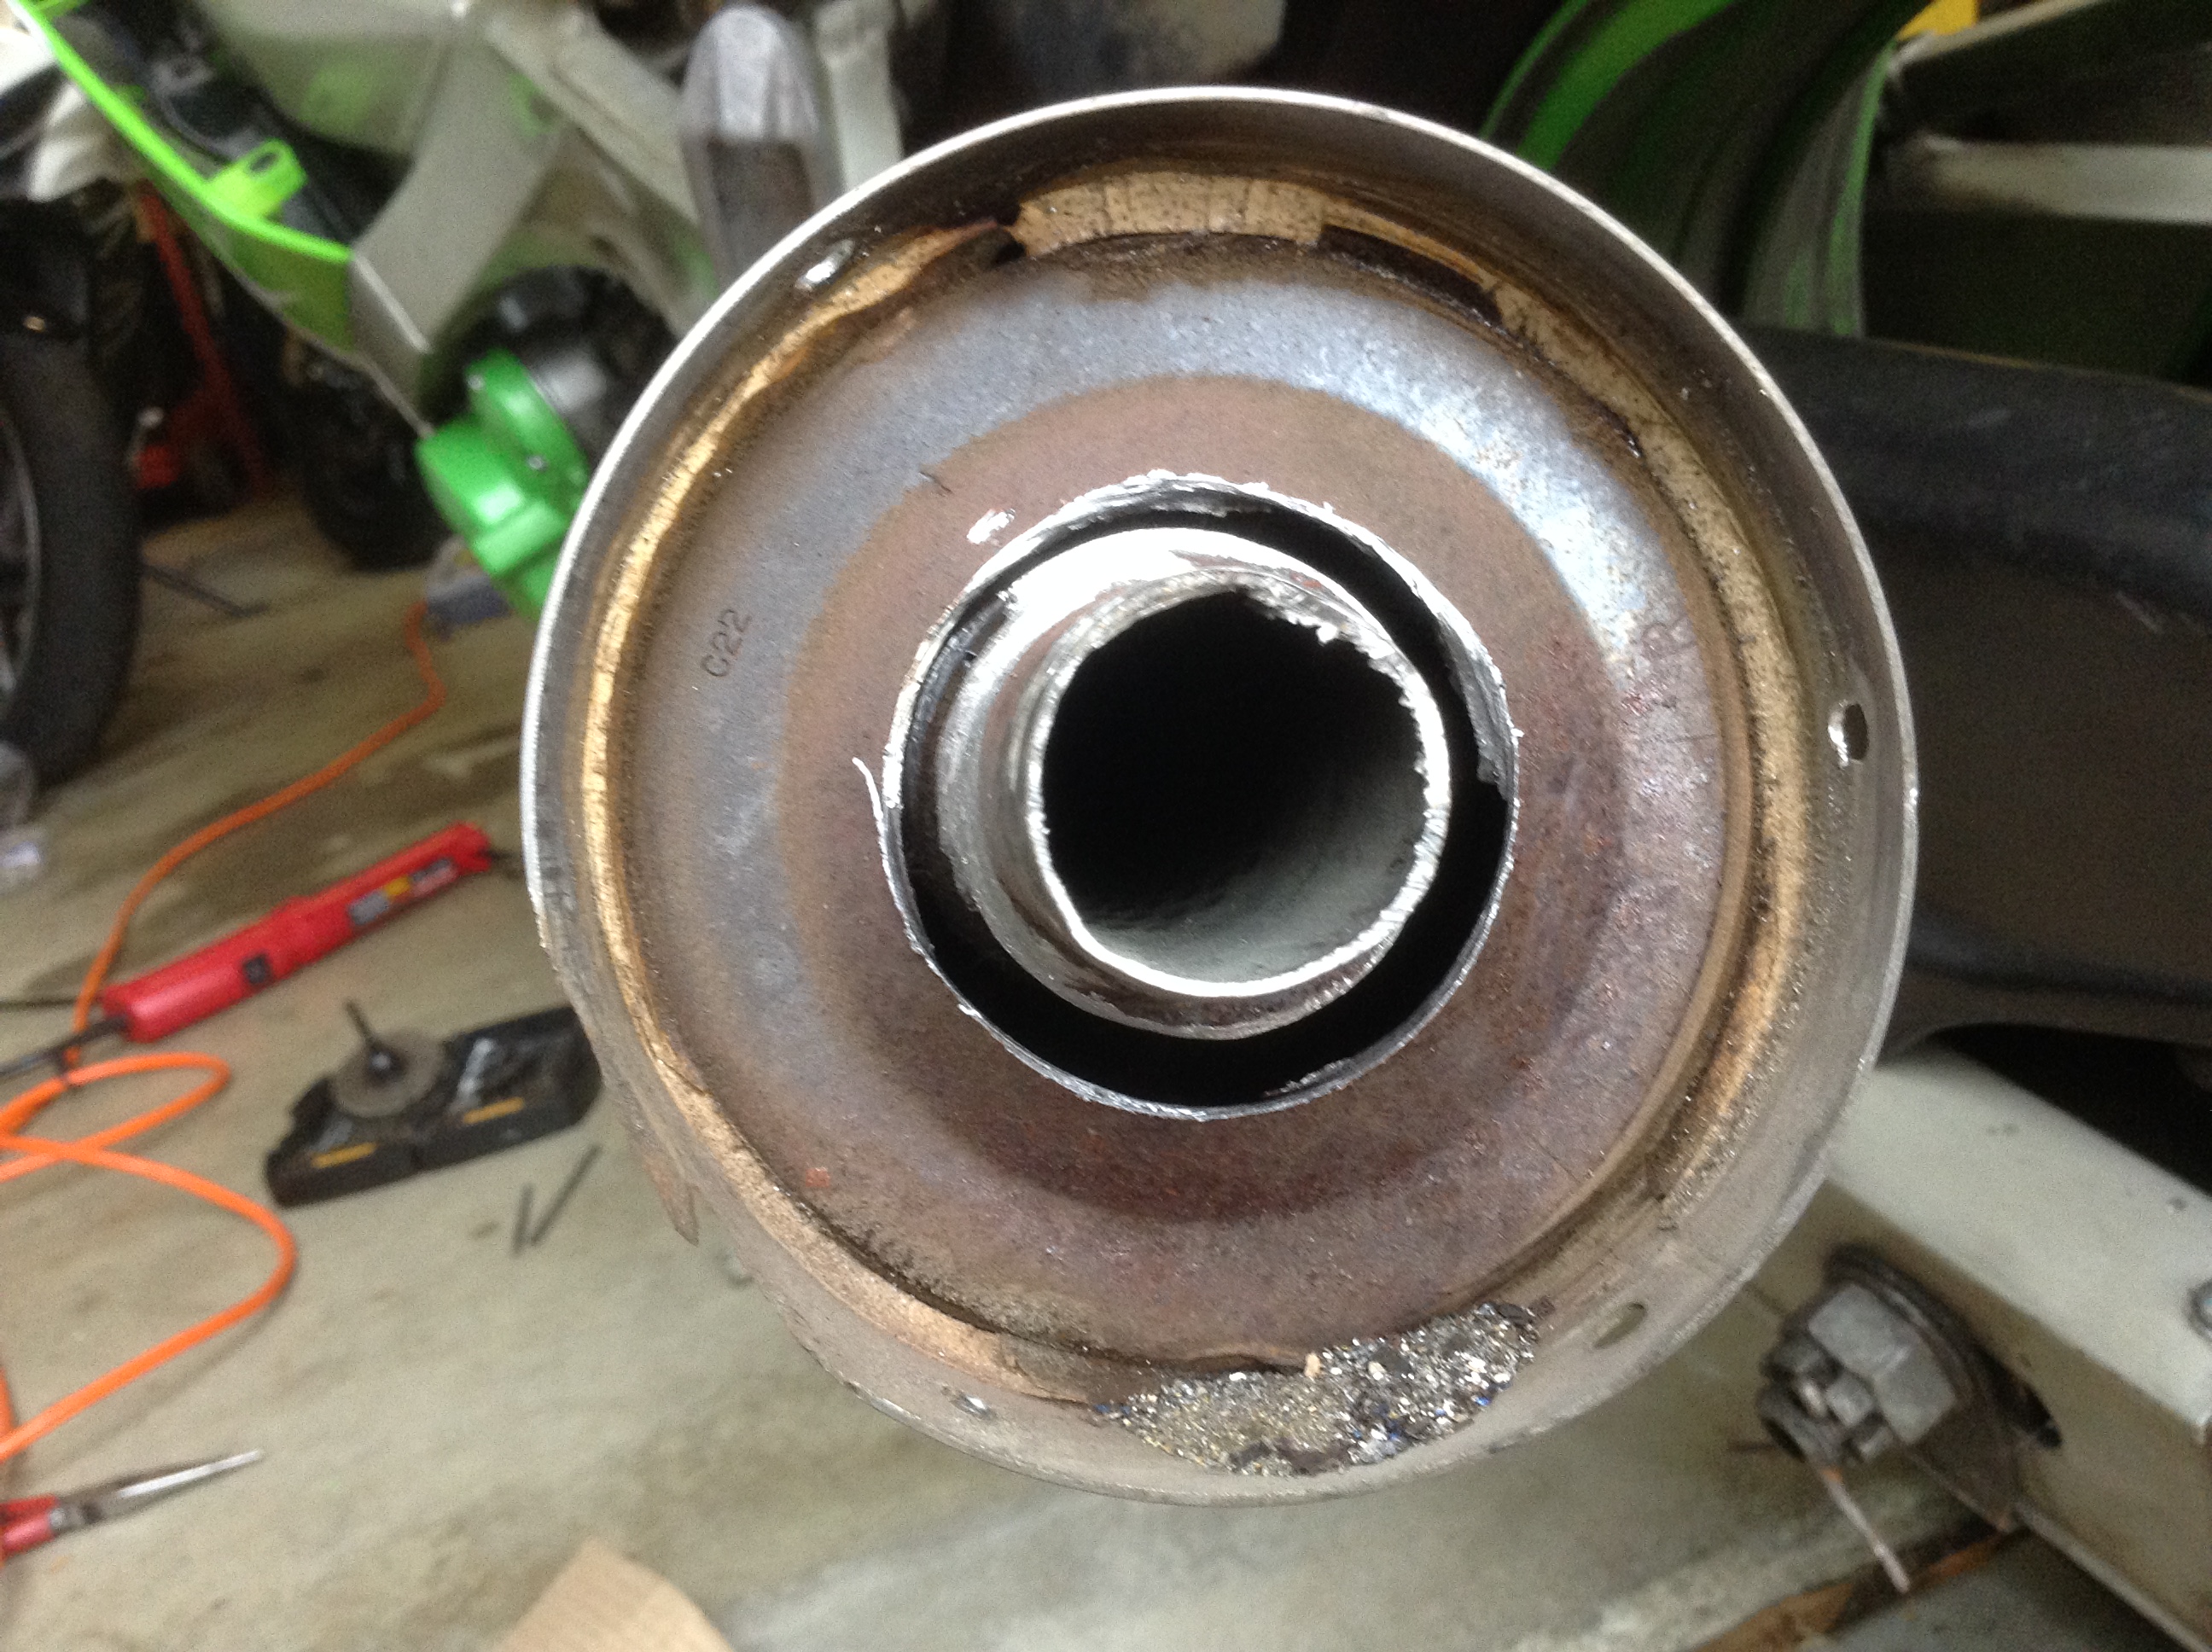
These exhausts have 3 separated chambers. What this mod does is effectively eliminate the middle chamber AND cuts out a large back and forth pattern the exhaust gases used to have to follow backwards into the middle chamber and then out that small final tail pipe / baffle. With it gone, the gases enter the first chamber and then exit out the larger diameter pipe, bypass the middle chamber altogether now, and then exit into the rear chamber and have free outflow out the back now.
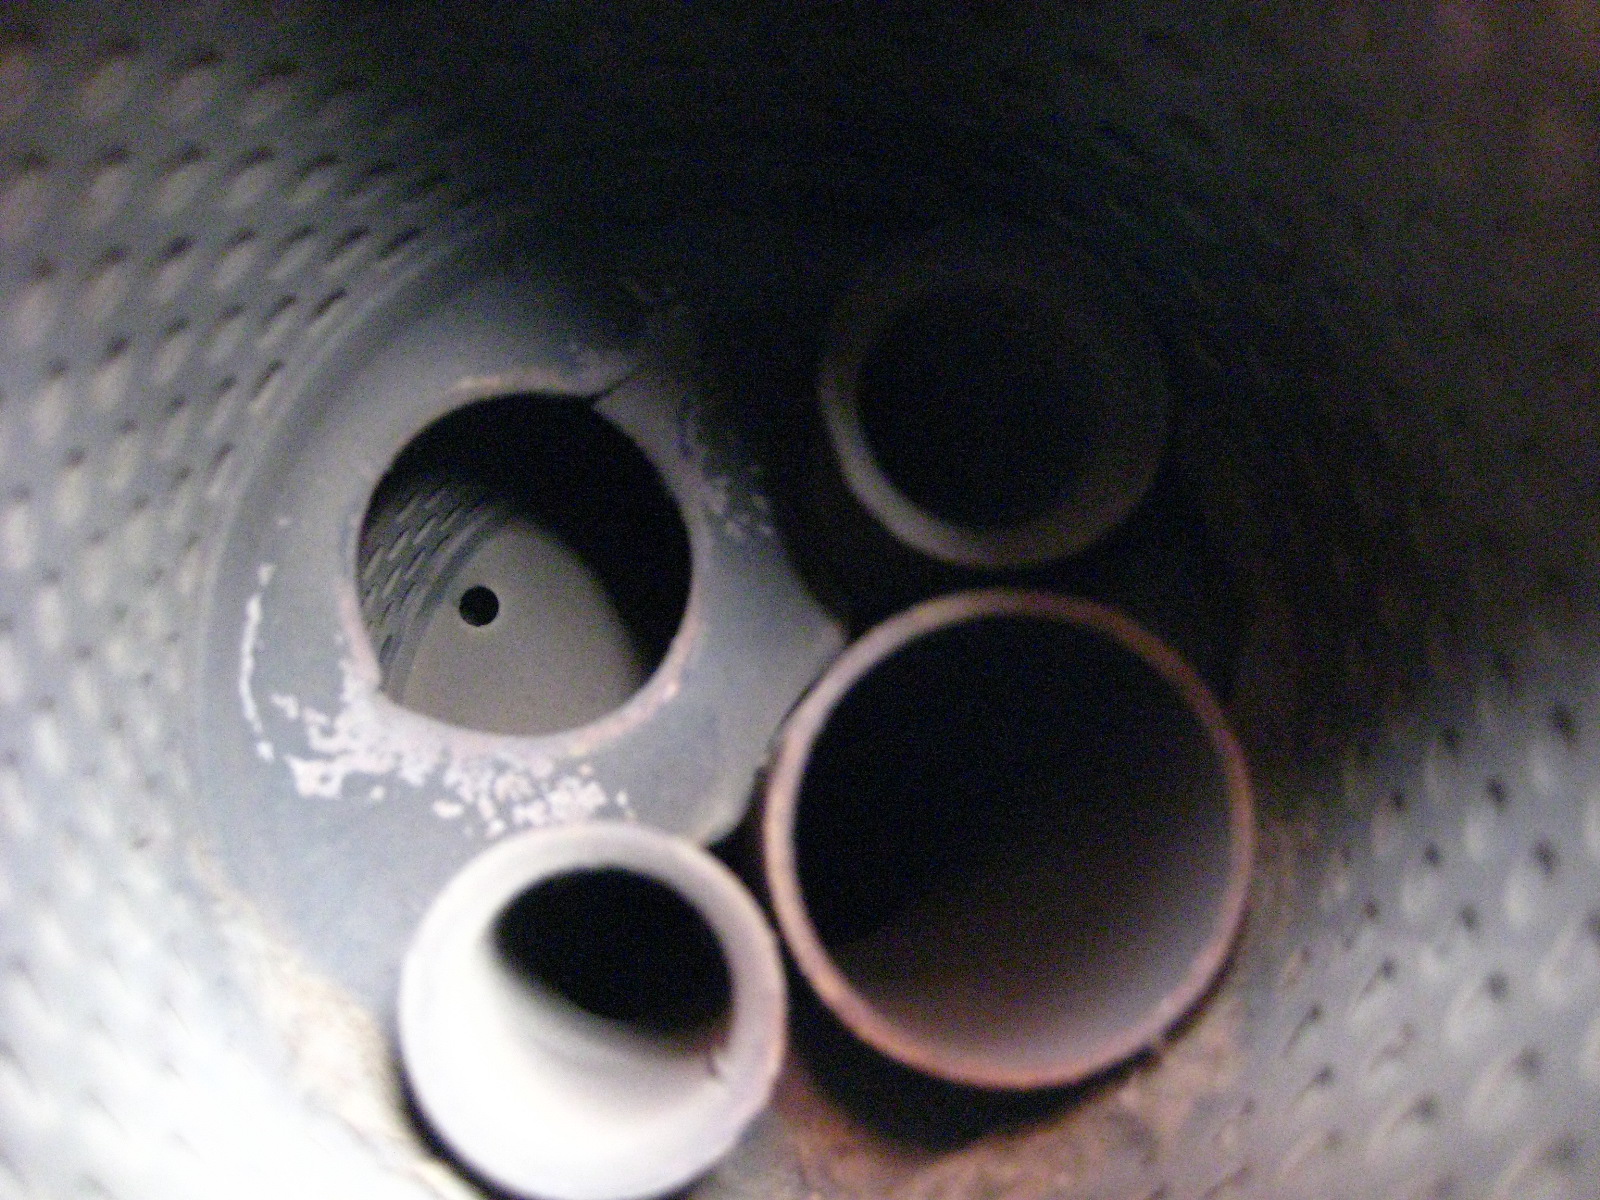
Before:
After:
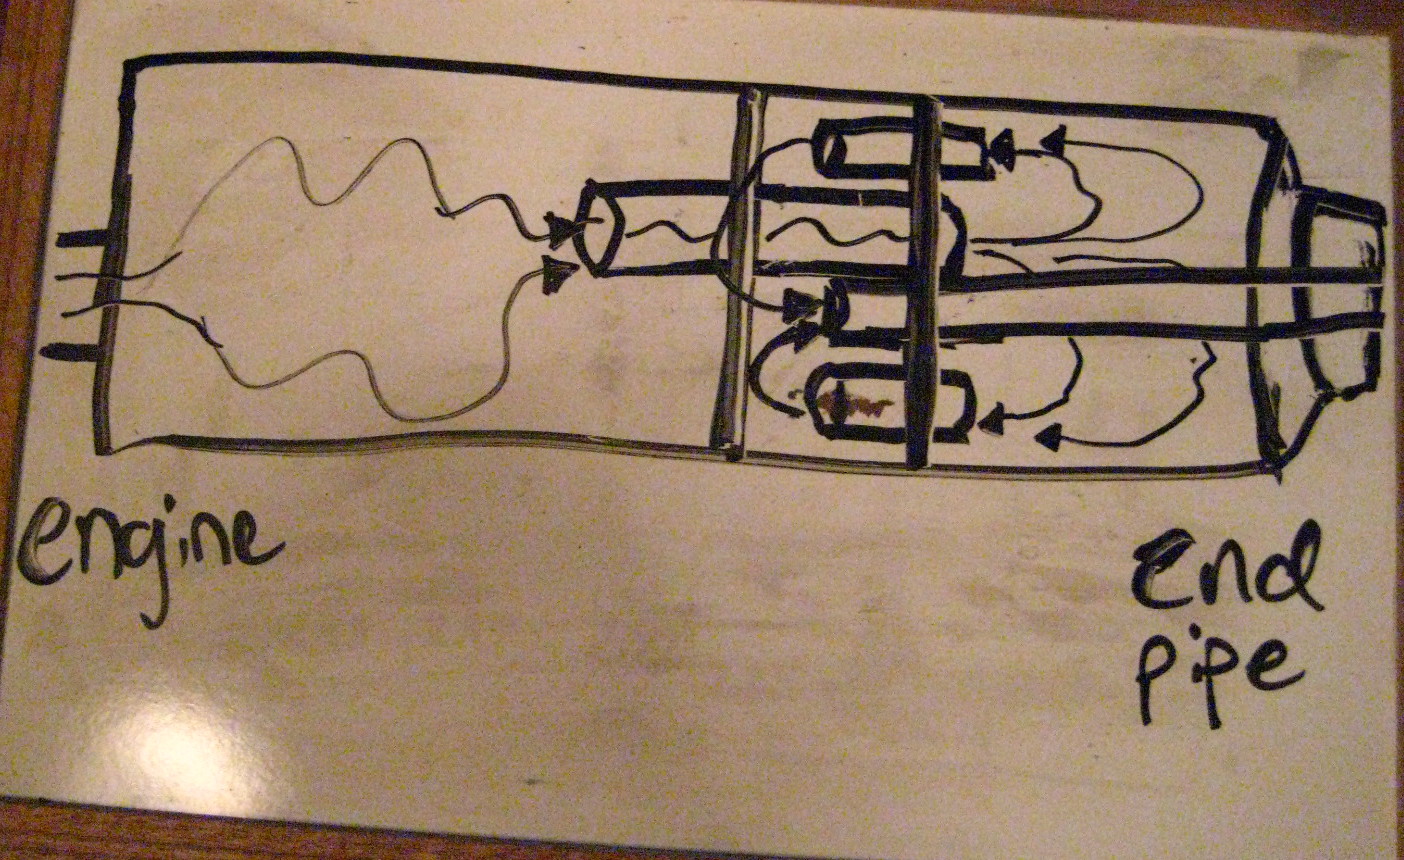
Here is a photo of an ‘exploded’ stock muffler:
Yo
Result?:
It sounds SO much better than stock. Idle is amazing with a nice throaty burble. Cutting this all out rather than drill holes around the end tail pipe makes it deeper / bass-y sounding, and not raspy at all.
Depending on load and throttle position etc… it can get a little loud and drone starting as early as 3500 and through 5000 rpms. Again, depends on several factors. By 6000 + the exhaust sounds sweet and great!
My bike idle smoother at lower rpms with this as well. It burbles nicely, it really sounds fantastic.
This little mod has totally changed the feel of the bike. It was such a quiet bland exhaust before. Some people have done this and found it too loud for them.
I have worn earplugs riding for the past 2-3 years to protect against hearing loss (from wind noise), and I LOVE this exhaust with my ear plugs in. I am also noticed more by cars driving around as they have more of an audio warning I am nearby.
I will posting a proper comparison of the before and after video with same video gear with the same manual settings so you can hear the difference.
It’s a free exhaust tone modification and I did it in just a few hours on the weekend. Enjoy!
Posted in DIY, repair and tagged baffle, chop, debaffle, debaffle cans, debaffled, exhaust, exhaust mod, Kawasaki, muffler, Ninja, stock exhaust, Zx6e by green